several sessions of body filler, sanding, smoothing, and finally, the holes I wanted to fill are now hidden. I then got some 1/8" aluminum sheet-metal for $30 at a local sheetmetal place in Dover. Made up some paper templates for the firewall, battery tray, evap canister tray, and some of the areas on the inner fenders that were left open from the factory and seem unsightly to me. the one on the passenger side with the horizontal hole cut in it if for the three 1-gauge wires to come through (power, power, and ground). the plate where the battery used to be will be where my power distribution block will be, a jump post, and a 150 amp circuit breaker. so far, nothing will be on the drivers side plate. maybe in the future I could mount a small fuel cell for a nitrous system's independent fuel pump.


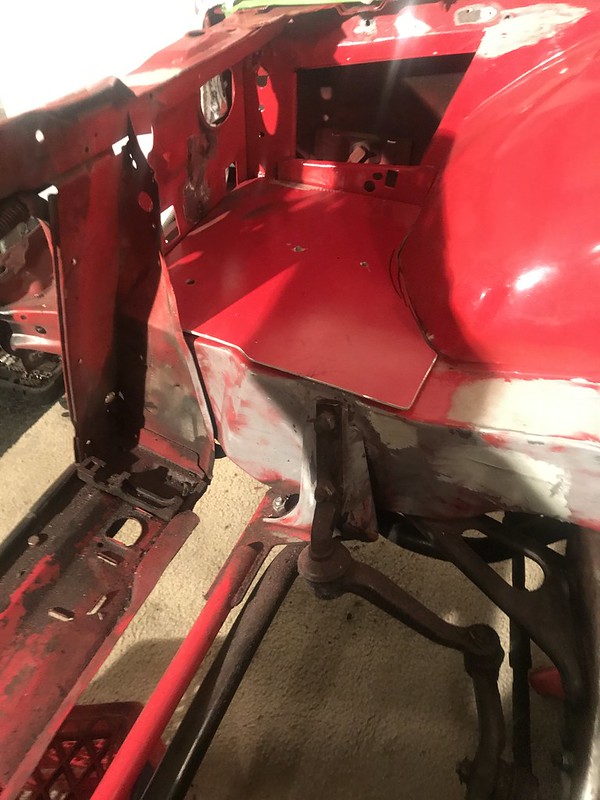

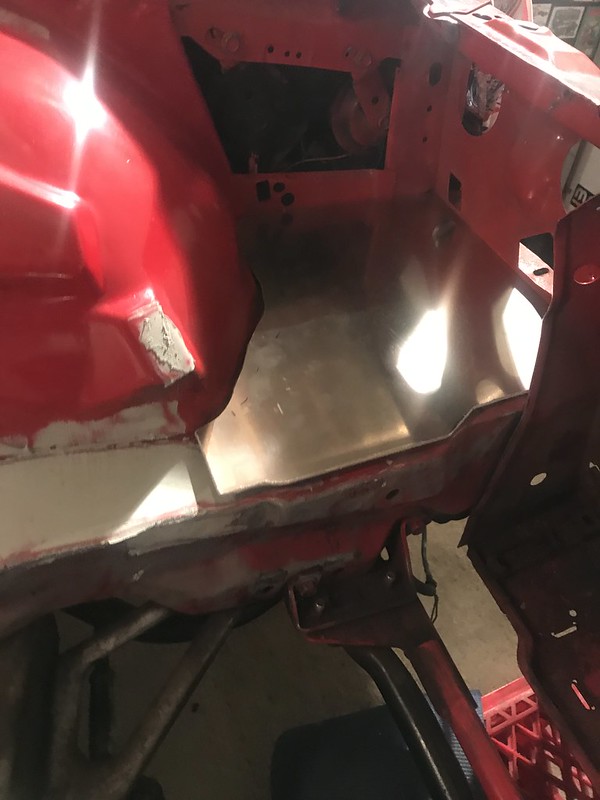


I acid etched the primer and seam sealed the aluminum panels in place. I don't mind the sheetmetal screws, since I am not going for any Riddler awards with this car, and also because I can't weld aluminum. I know some people will not like the screw heads, but thats the only way i could think to do it, knowing rivets weren't really a feasible option. its still just a street car built in a my small garage.


Sanded the every surface underhood with 220 sandpaper. wiped everything with prep-solution and tack-cloths. I sprayed 3 coats of primer. was nice to see everything in "one color" for a change.
I toyed with the idea of removing the UMI strut tower mounts and painting under them. For the first time in years, I am super incredibly happy with the alignment I currently have on the car; since I have redone the alignment in the spring of the past 4 years. I am getting tired of bringing it somewhere only to have the shop be leery of setting the specs to my request, and STILL have yet to find a shop that helped me set it exactly how I wanted it to be. Therefore I decided to leave the strut tower mounts exactly where they are and keep my alignment. The new engine and battery relocation will change my corner weights, but i won't know how that will effect the car until it is all set and done. If the alignment is way wacky then. I'll get it corrected.. and figure out a way to touch up the paint under the strut mounts if they are to shift significantly in any direction.


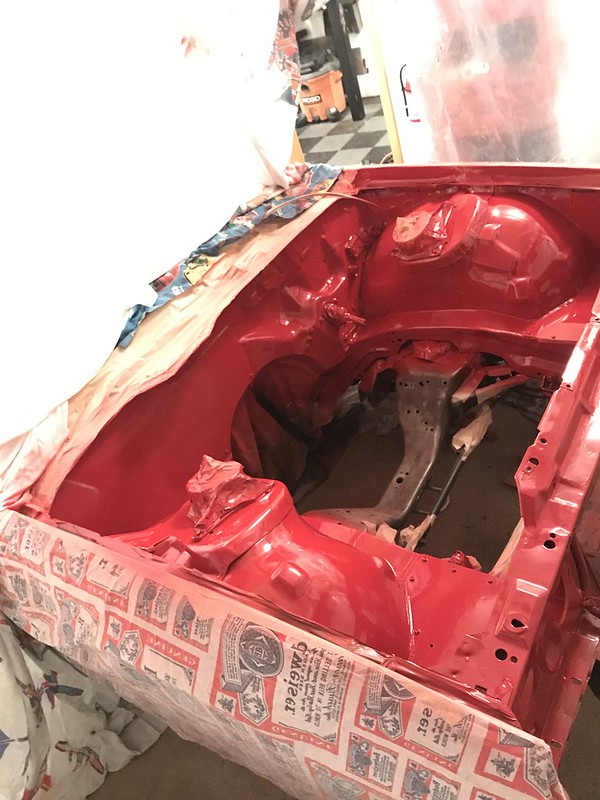
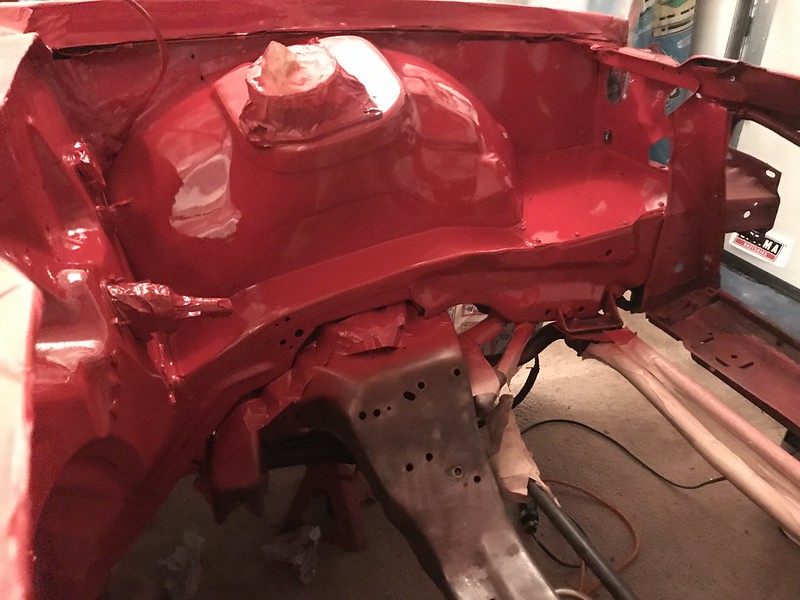
Today, my dad came over and we painted. Dupont (Nason)brand Flame Red, which is the exact same color as the exterior of the car. prior to this year, my engine bay paint was simply rattle can paint that I would spray every few years. no more of that! He used to paint custom vans, choppers, and cars back in the 70's and 80's, and was locally famous for his air-brush murals. (see this link for his old artwork
https://www.freewebs.com/iroczman15/...oldartwork.htm ). he sprayed the first coat of paint to show me how it was done, and then I sprayed the remaining 3 coats. 4 in total.


Polyurethane motor mounts from Prothane arrived.
I will install them in a day or two, after I paint the K-member, steering linkages, and radiator opening with POR15 black, by hand. does the orientation of the mount look correct to you guys? I referred back to my photos to figure out the position of the metal tabs in the insert, but if something is wrong, please let me know asap


next is the POR15 black chassis paint, and then I wills tart working on the brake line system and positions.