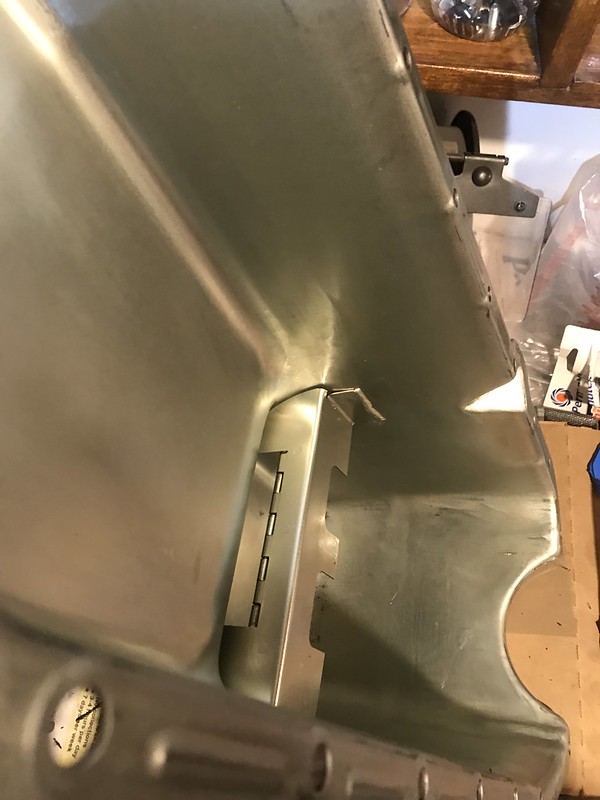
The parts arrived Friday and I got them installed. The new melling "shark tooth" style oil pump has many benefits I listed above, and it also is said to do away with any "pulsing" that the straight-cut gears cause and oil pressure results in a fluttering gauge. So since I will be adding a secondary oil pressure gauge (on the A-pillar), I should have a rock solid and accurate oil pressure reading from both gauges. I kept the 70 psi spring in the pump, but the pump kit came with the 58 psi spring if I ever want to change it out. The oil screen/pickup did not come with the pump, so I measured and did my research to get the right depth one. I welded the pickup tube to the pump also. I went with the FelPro 1piece gasket with the thick groove at the timing cover. It came with new bolts also. I also installed a new Felpro 2900 rear main seal, making sure to offset it 3/8" from the block and dabbed a touch of permatex "right stuff" 90 minute gasket maker on the ends of the RMS that meet eachother. I also used this same permatex at the front and back corners of the block before installing the felpro oil pan gasket. Did some degreasing of the engine while it was on the engine stand, and installed a new oil filter as well. Took a few hours and opened up all the engine bay wire loom to reconfigure the wiring a bit better. Cut out some unnecessary stuff, combined grounds, used label maker on important wires, and relocated some wiring to go inside the cabin to a separate fuse block I mounted under the passenger dashboard area. Tucked everything away in split loom and temporarily routed it in place.


With everything on the engine buttoned up, I rolled it over to the chain hoist and got the hook on the lift plate. My dad and a hot rodding neighbor came by and we dropped the engine in, landing it in place like a perfect dream on the first shot. Two motor mount bolts slid in without any persuasion. Super simple and effortless. Got the chain hoist and pipe-jacks out of the way just in time to go meet-up with a fella who bought my old Nitto 555 tires from me (see ad in classifieds). He has some turbocharged volvo drift car and was excited to have a set of tires to fry, so its cool that my old tires will be laid to rest in a long smokey drift burnout instead of just discarded to the trash. Anyways, with only a little time left in the afternoon today, I popped in the hyperspark distributor, bolted on the nitrous plate and its wiring/plumbing, and also installed the sniper throttle body and half of it's wiring. I have a few hours tomorrow afternoon to try to get the transmission, converter, driveshaft, headers, radiator, wiring, plumbing, fluids, etc taken care of.


Sidenote, next month I am removing the main crank pulley and the water pump pulley and getting them professionally finished. Had zero luck finding a local NJ chrome shop (called 11 potential places and struck out) and I am fearful of shipping them because in recent months USPS and UPS has completely lost 4 of my outgoing packages. But there are a few local places that do similar shiny-silvery coatings, so I am going to try that. Also opting for the less flashy non-chrome finish on these pulleys because I don't want TOO much attention to be drawn to a stamped steel pulley, but they do look very bad with my poorly done "chrome" aerosol paint job that is 2 years old and flaking off. Was quoted about $25-$30 per pulley so thats not a bad deal.