I deided to make a log of all the work being done to the camaro..
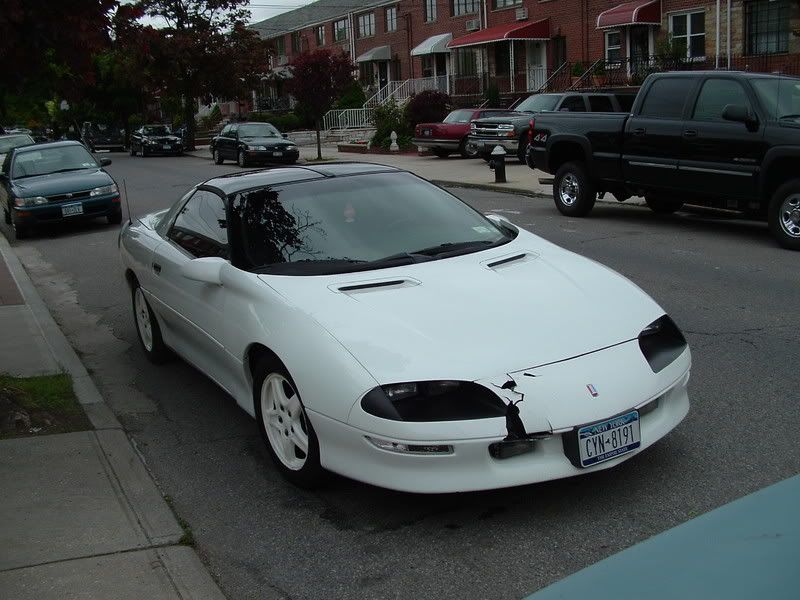
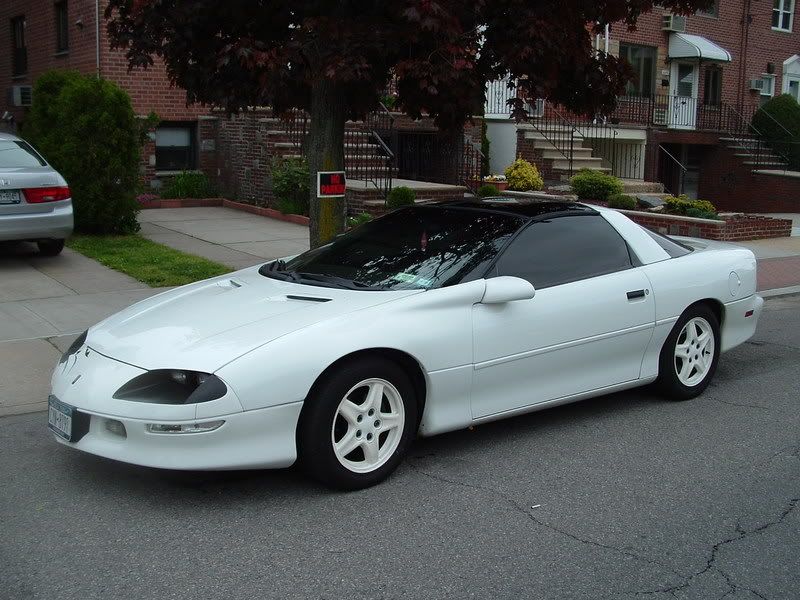
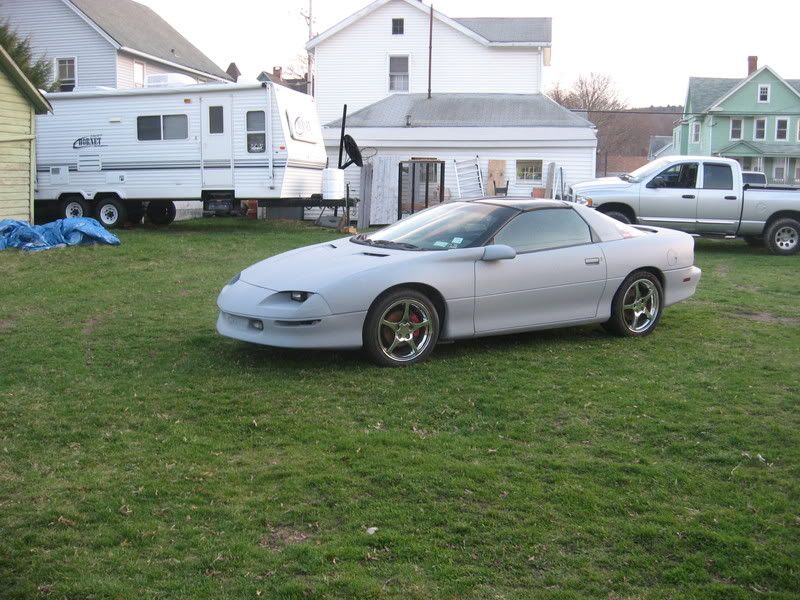
Here is my project. I dont know what it is about this car, but I love everything about it. I bought it in October of 2006 FOR $1000.00 Bucks. When I got her she ran like ****, and looked the same. Just run down in all aspects. So I took her home and started cleaning her up. Little by little.
When 1st got her Slapstick this should look familiar...
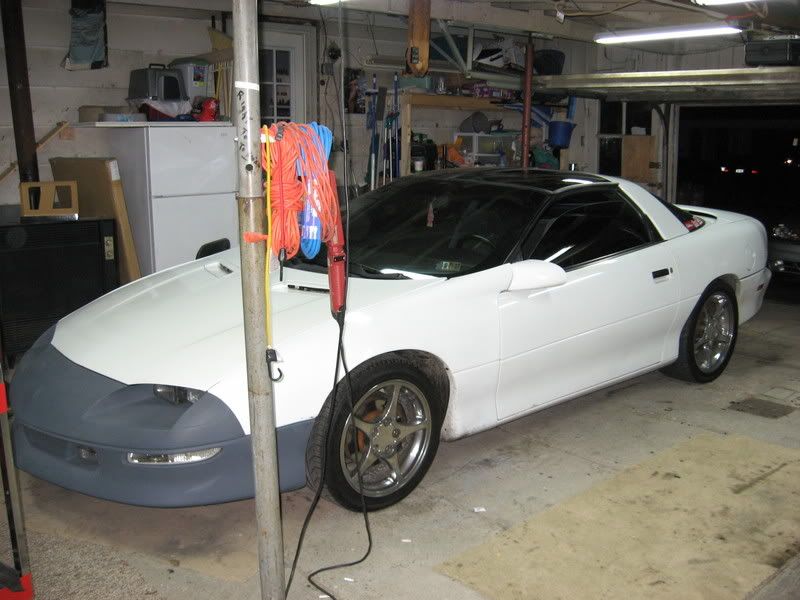
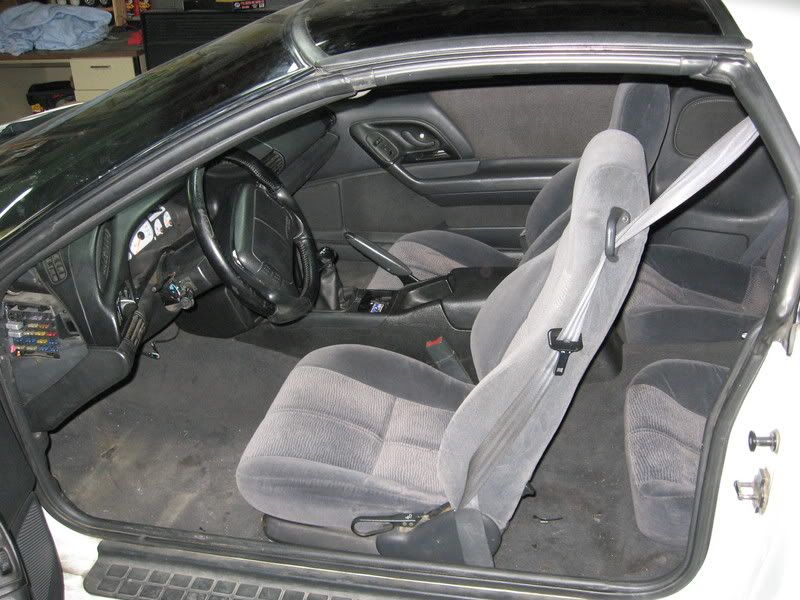
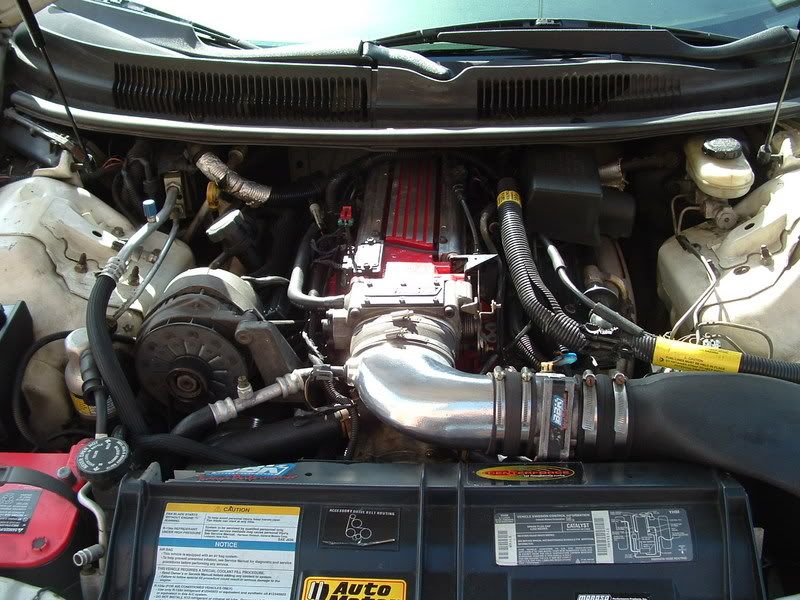
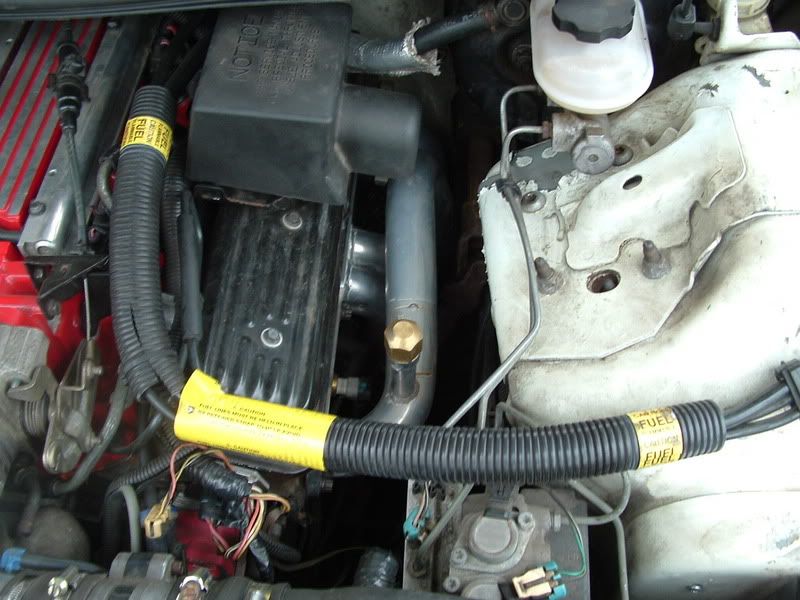
In the Garage with C-5 rims, new interior, new front bumper and some engine work
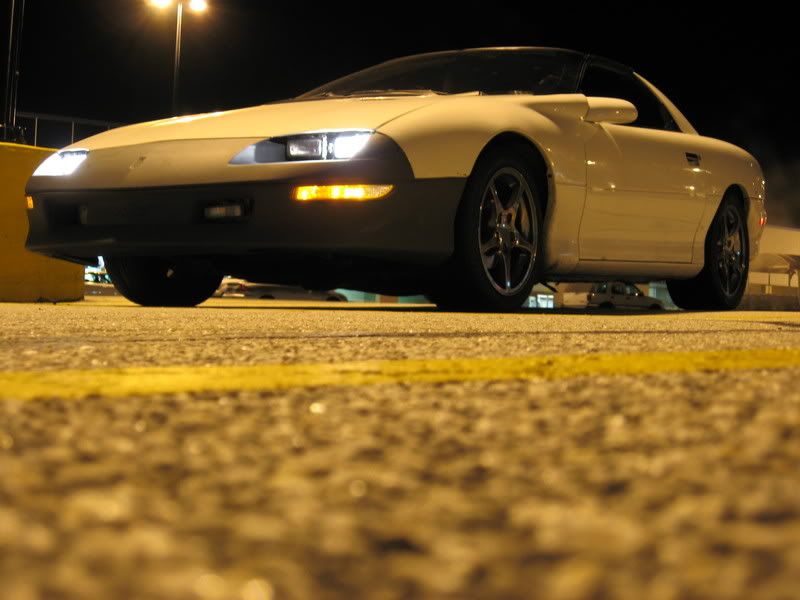
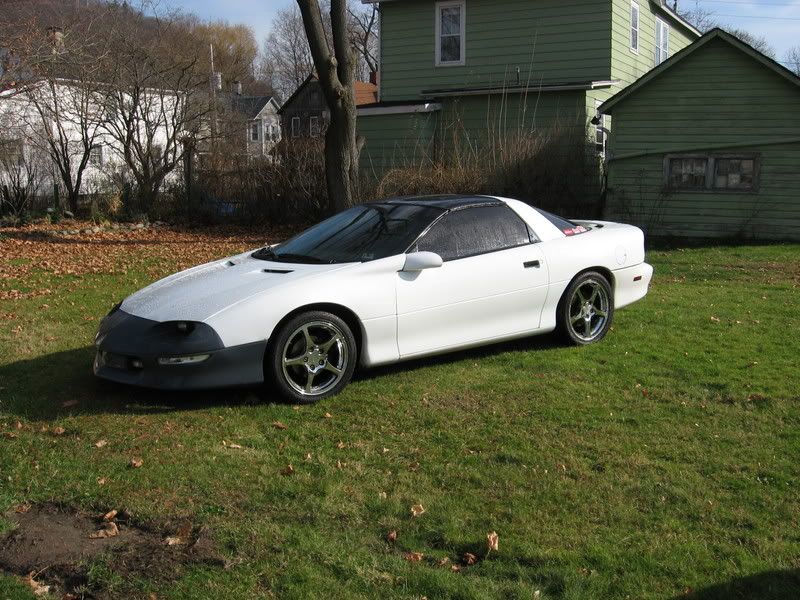
On the Road Now
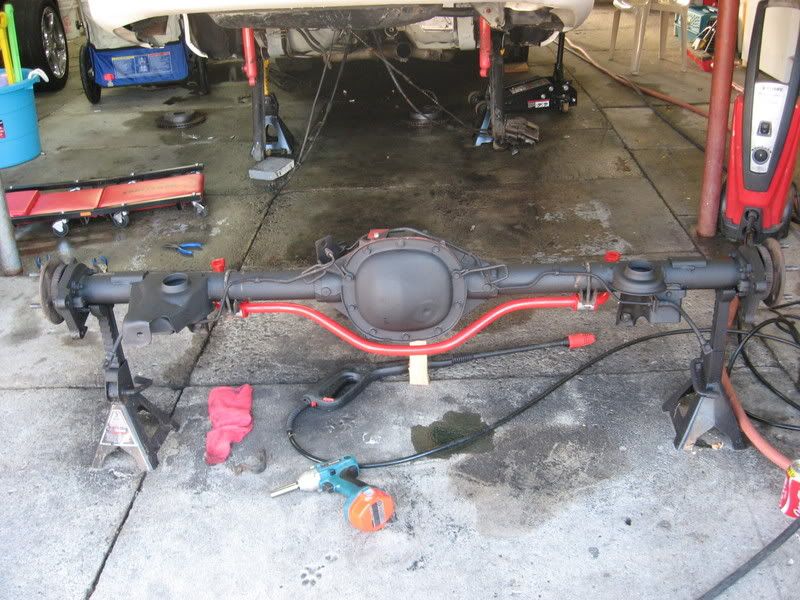
New Built 10-bolt
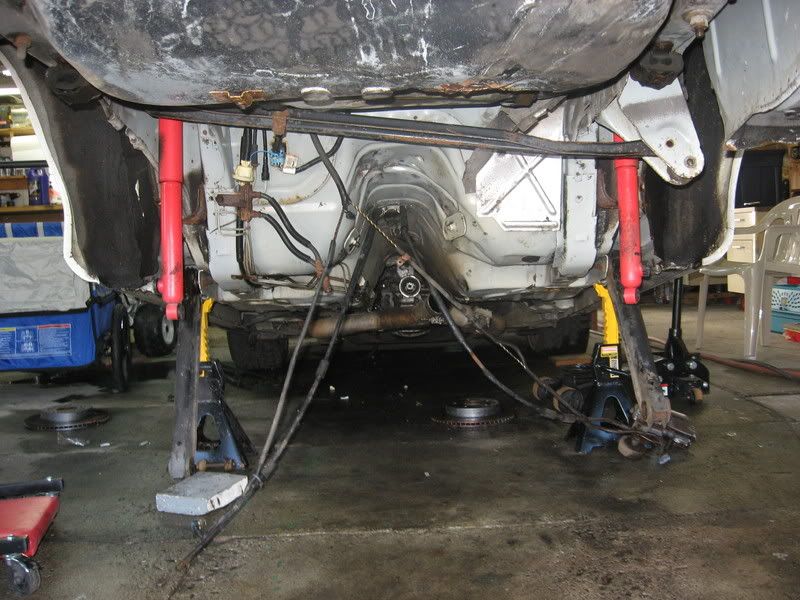
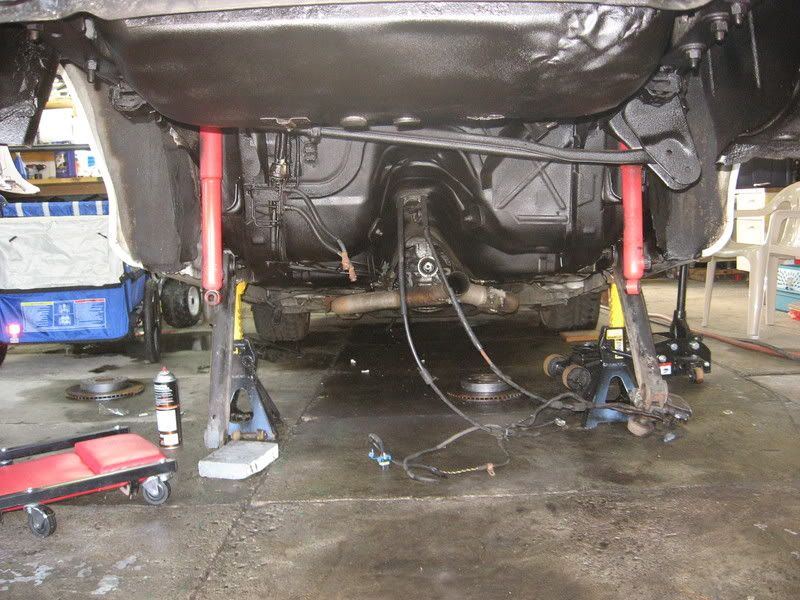
And some cleaning and undercoating
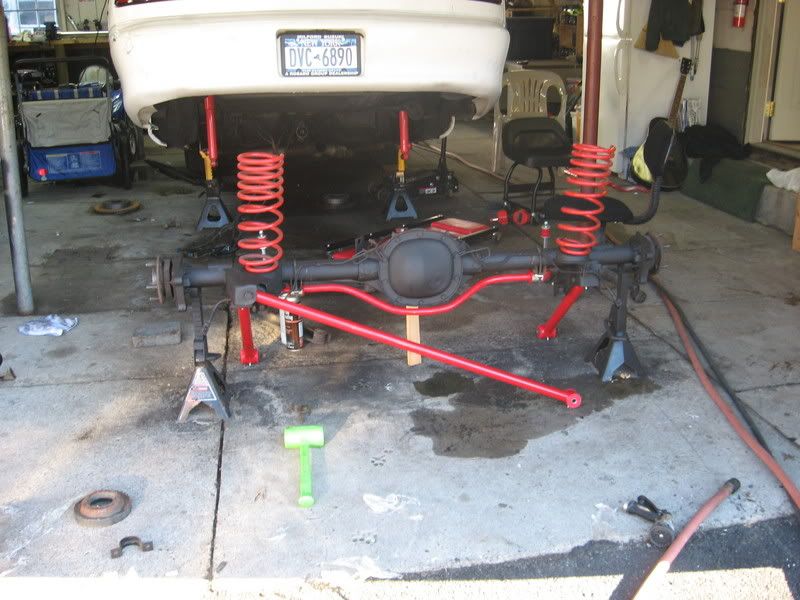
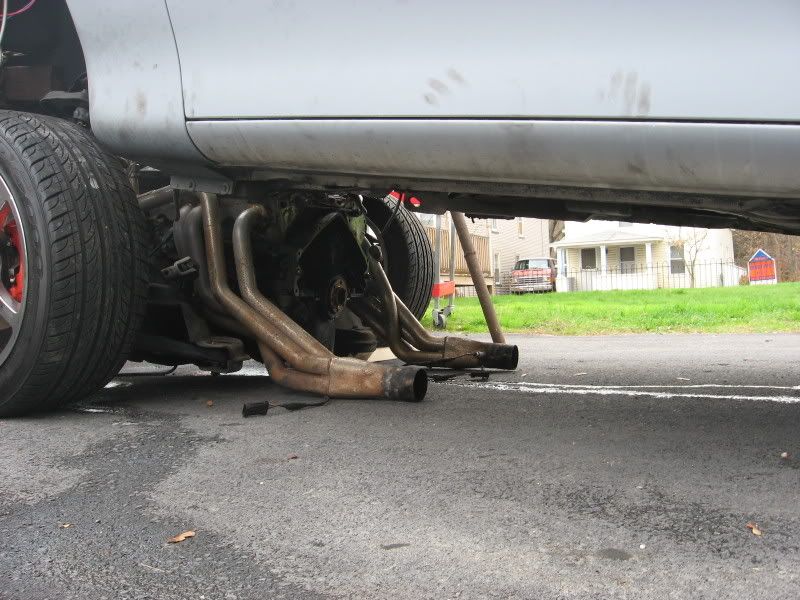
All new tubular rear suspension pieces
All Primed and ready to go to the track
Ran a 13.7@104 1st time out with no spray and bad launch
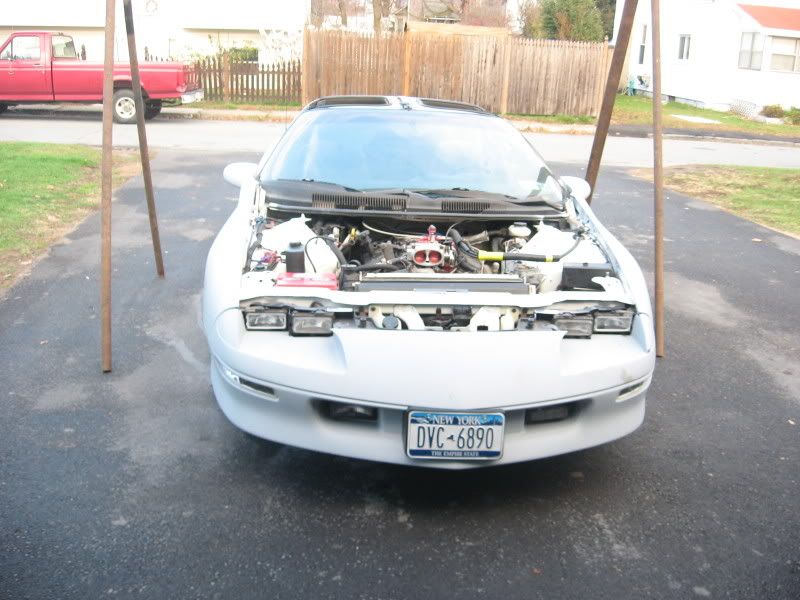
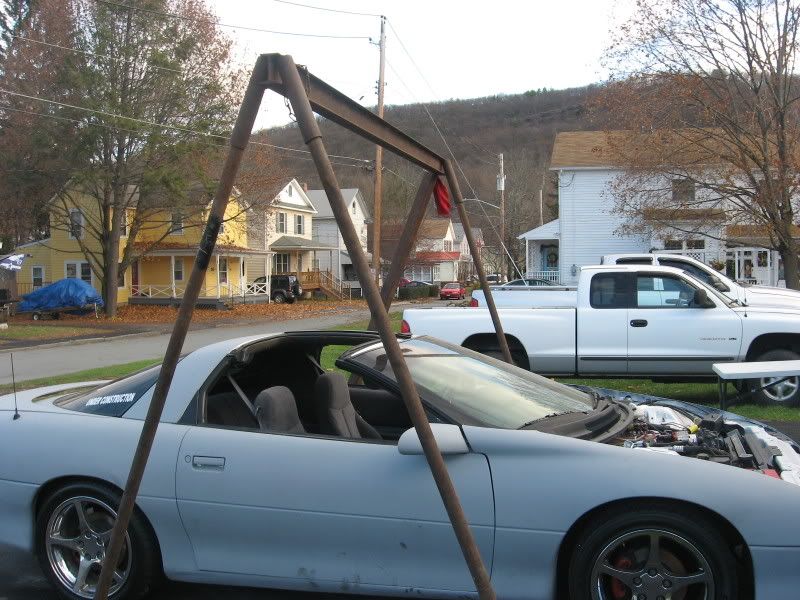
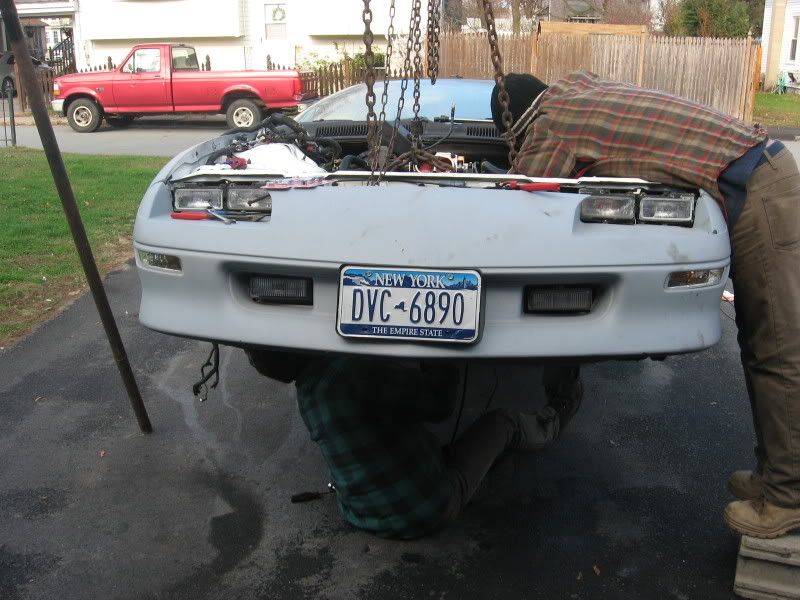
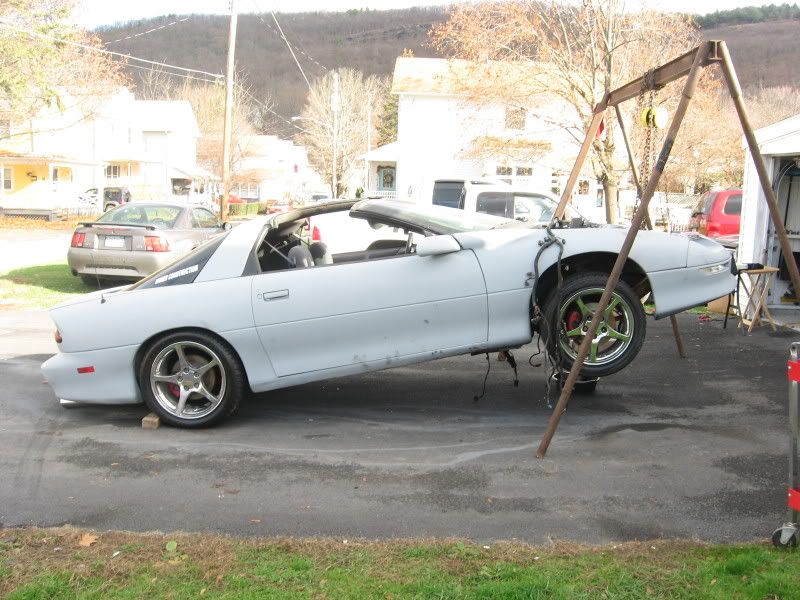
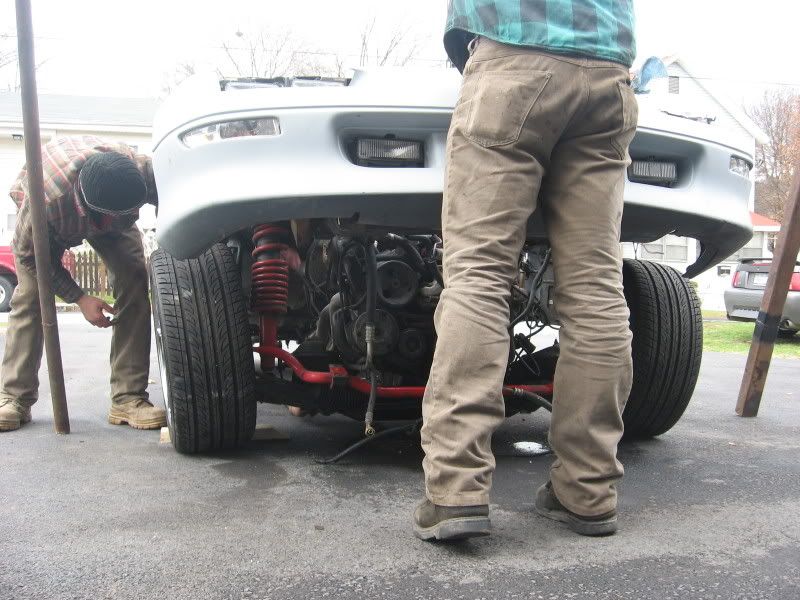
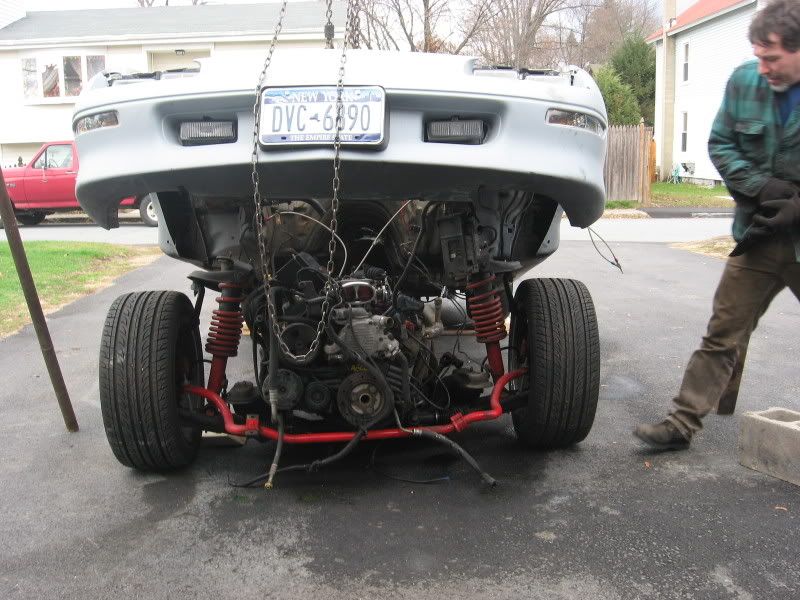
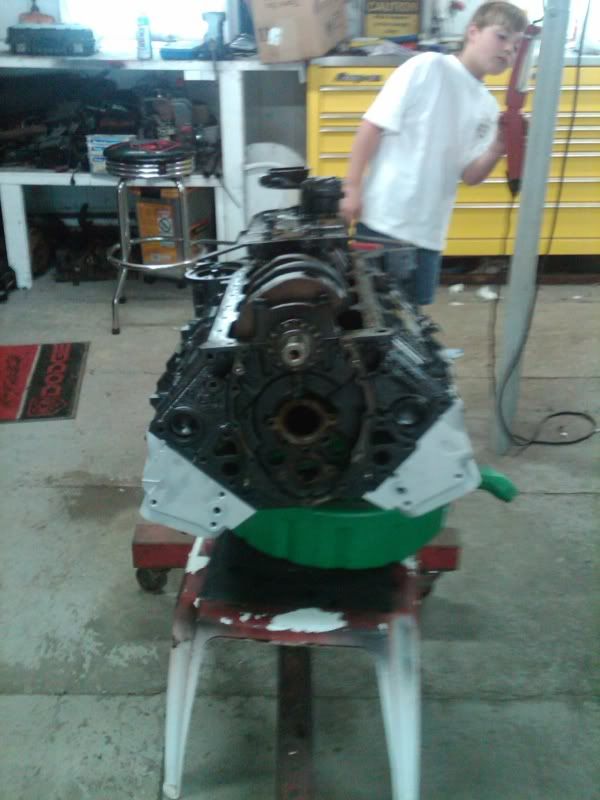
Well after cruising for the summer and one last try at the track. I blew the clutch and bent a valve to It was time to Yank the ol engine
We went out the bottom just because it would be a lot easier
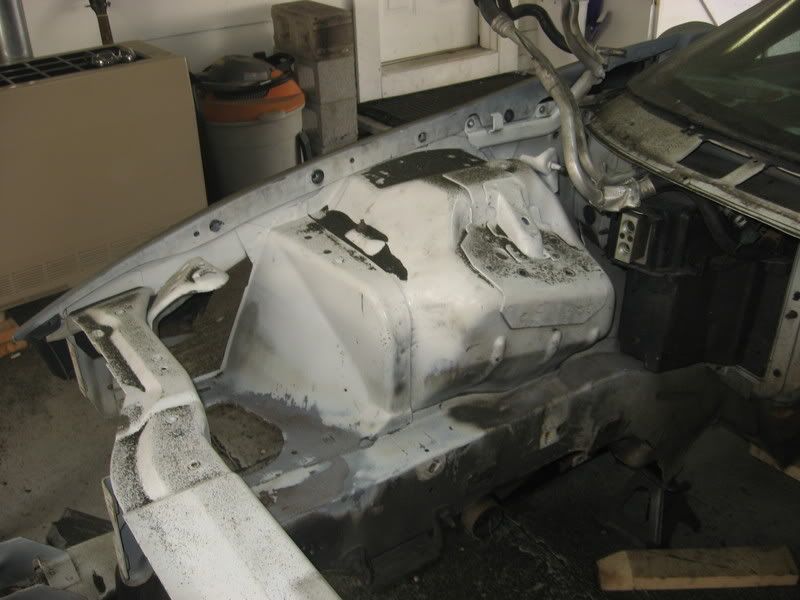
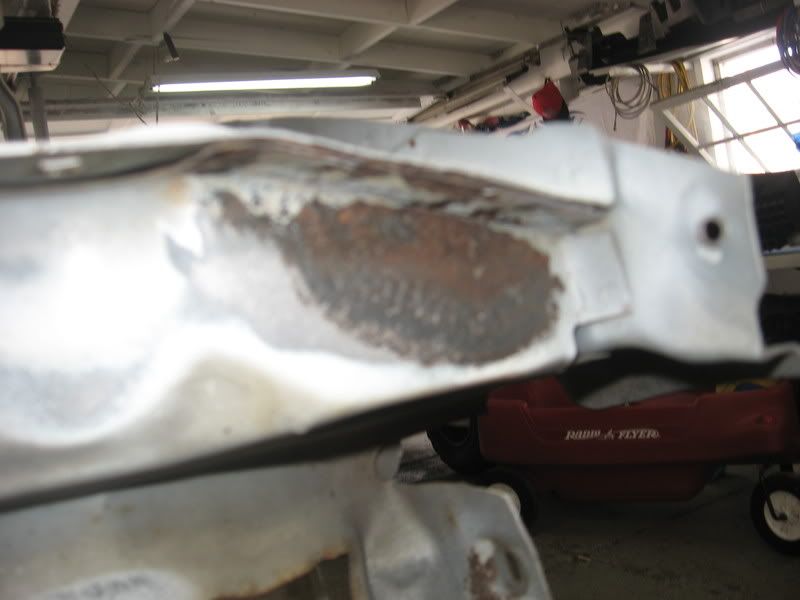
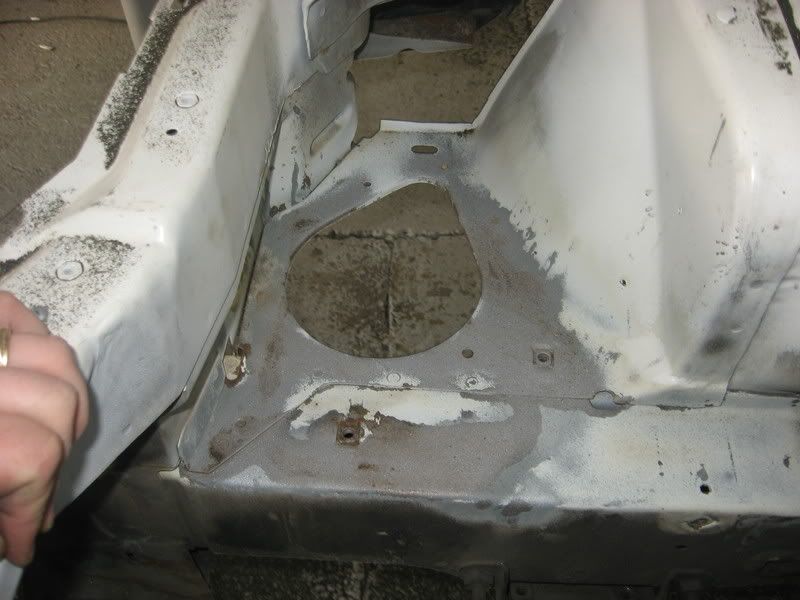
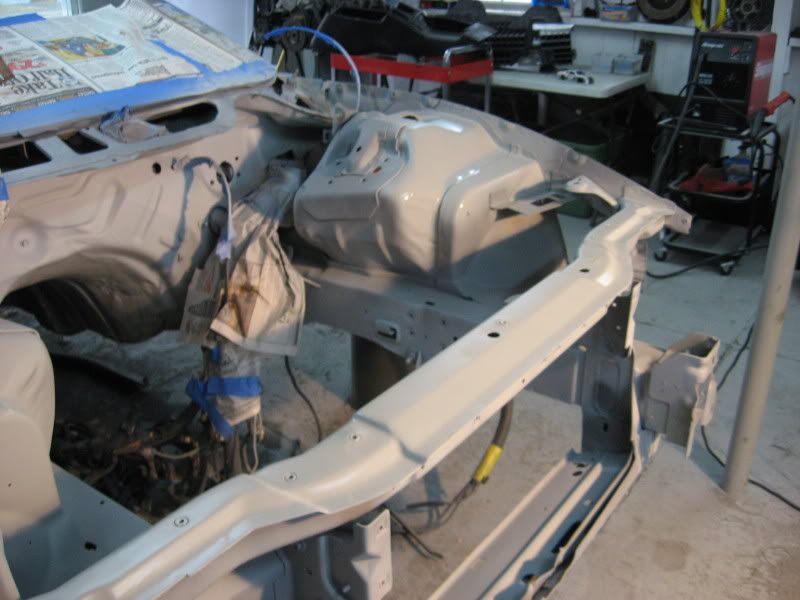
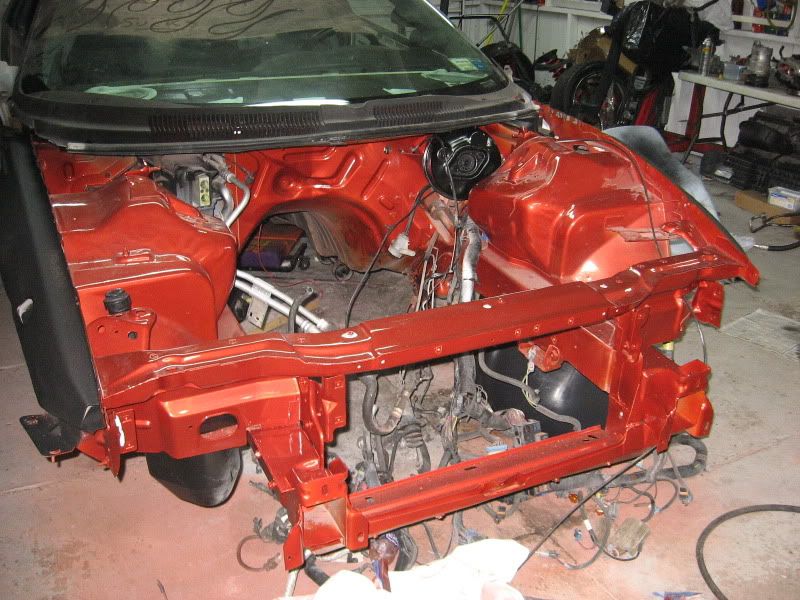
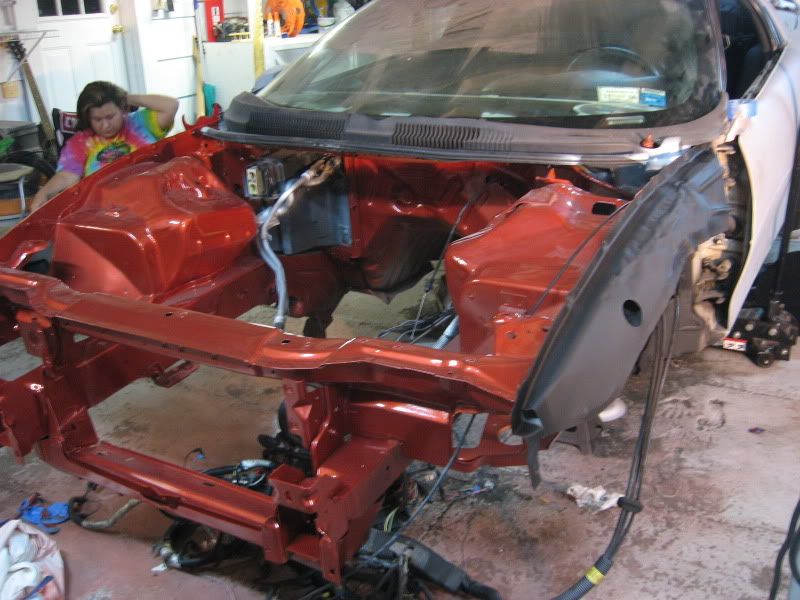
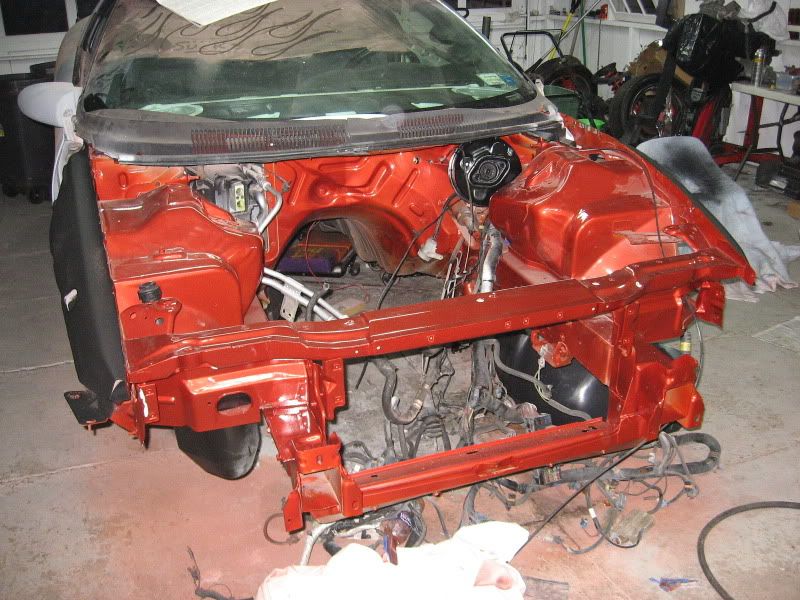
Now while the engine is out it is the best time to start changing the engine bay color…
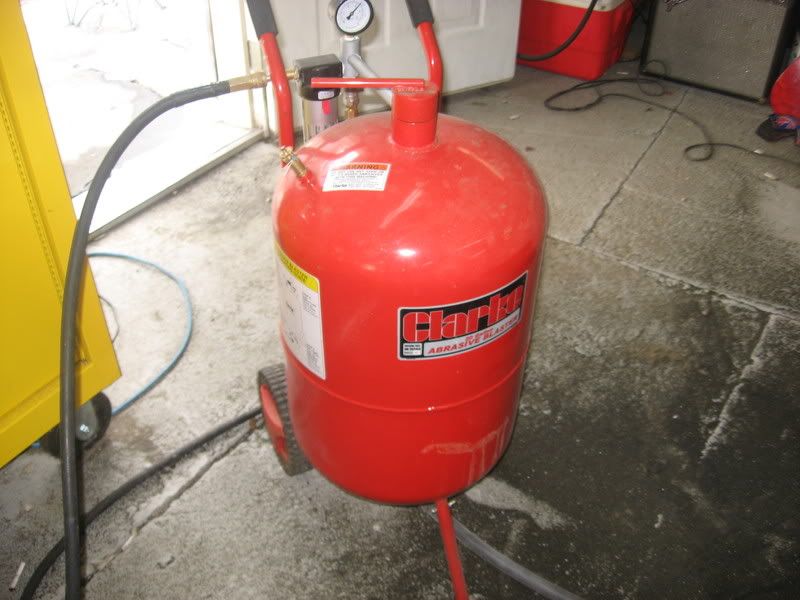
I got My trusty Sand Blaster out and blew the entire engine bay
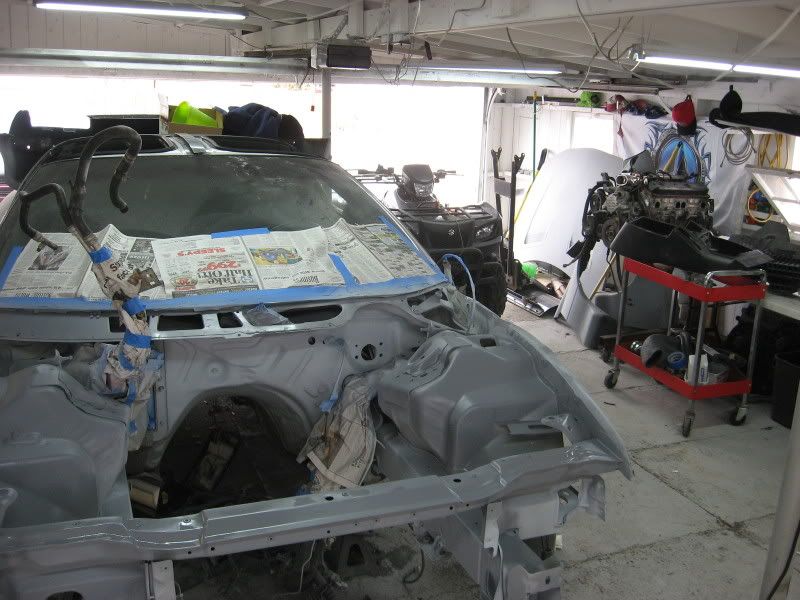
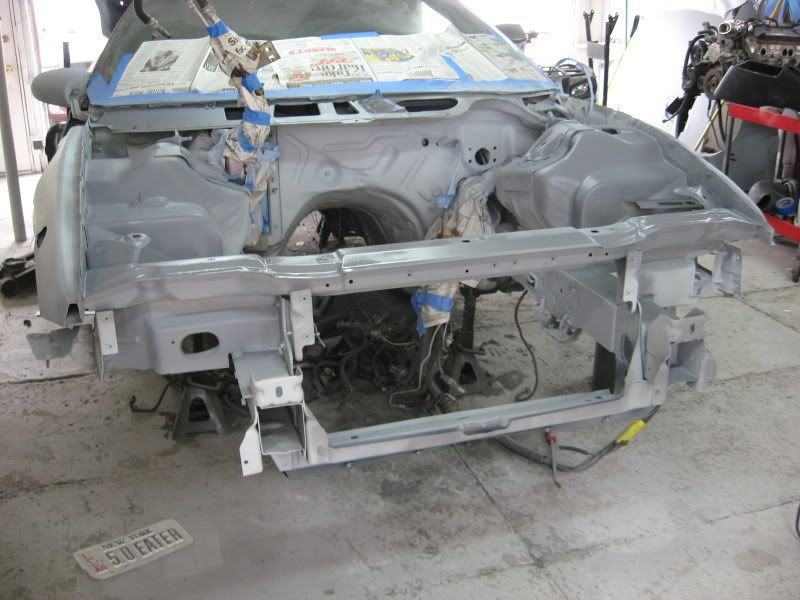
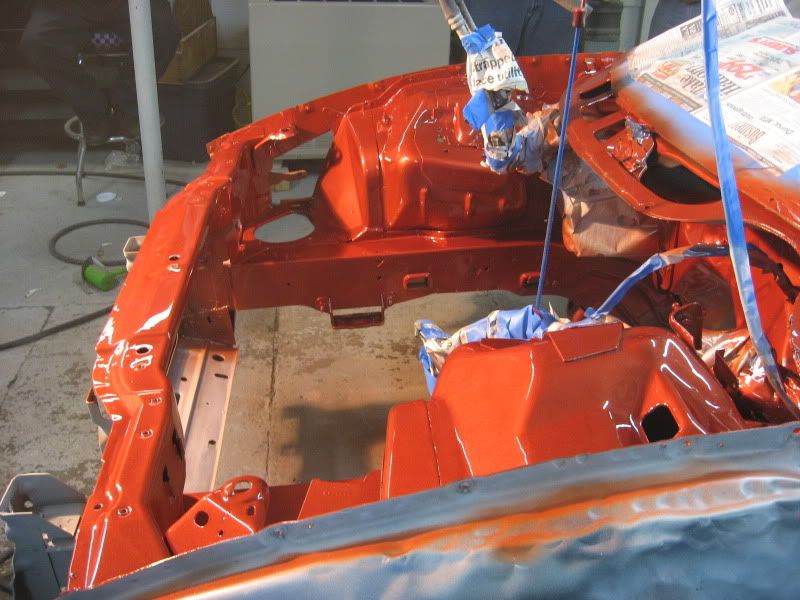
All primed up and Ready to paint
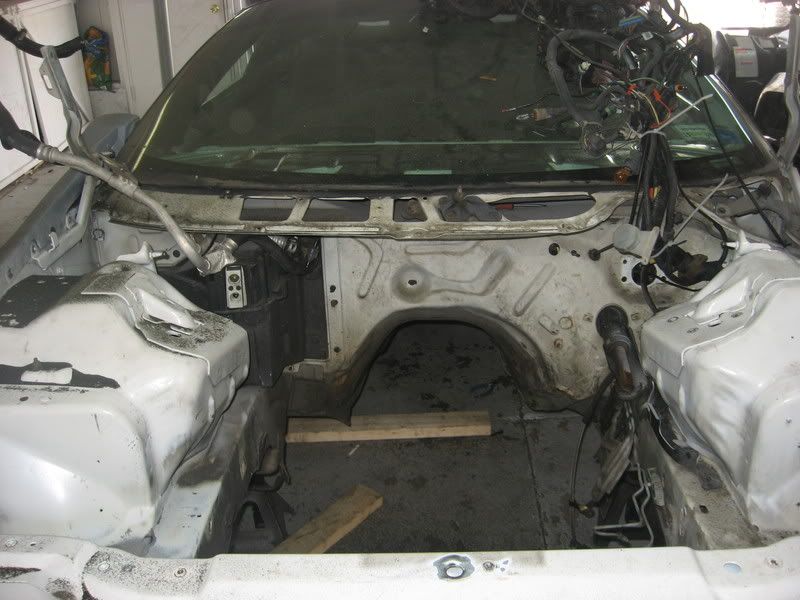
I am going to hide a lot/ most of the wiring so I welding in close to 20 holes and smoothed them all out.
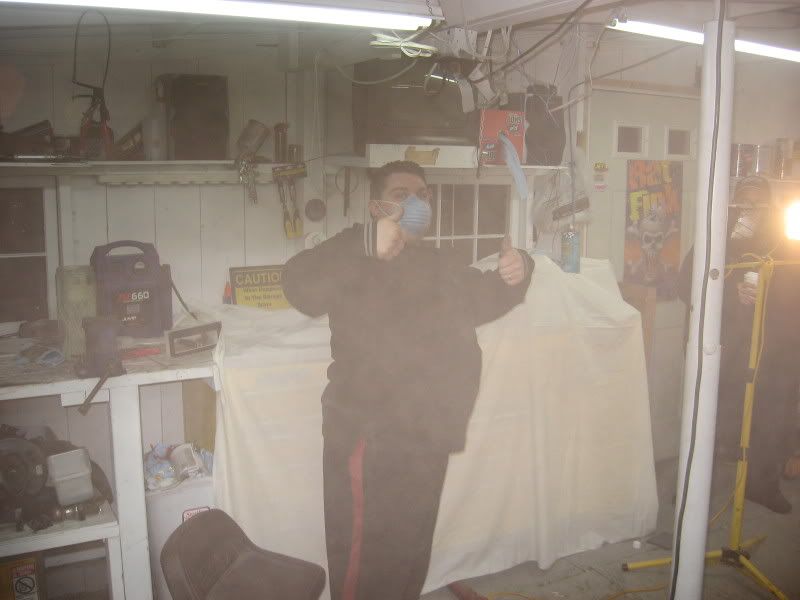
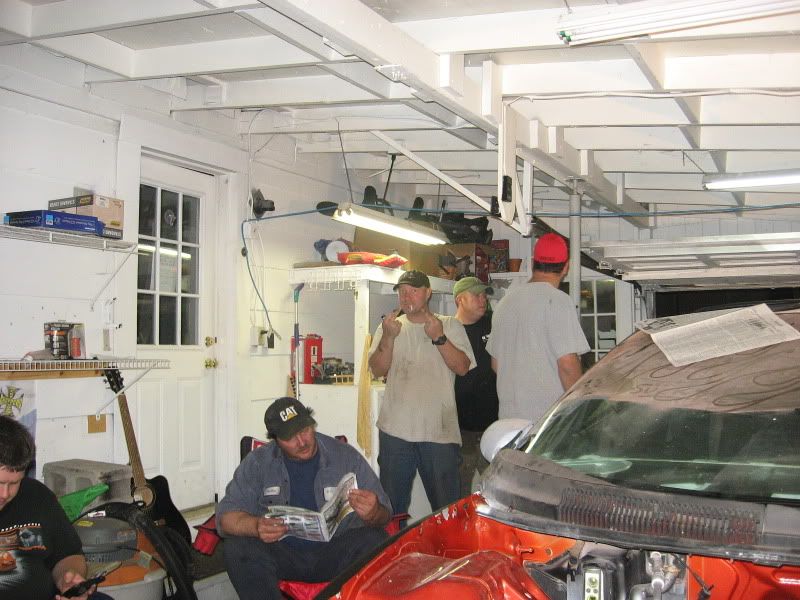
DATS A MEEEE
Yes I know I’m short and fat, and a cornball…
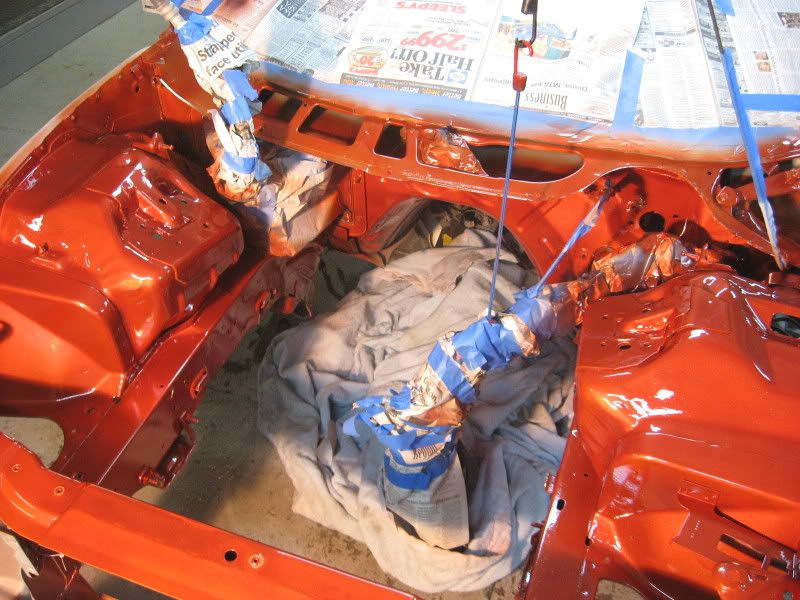
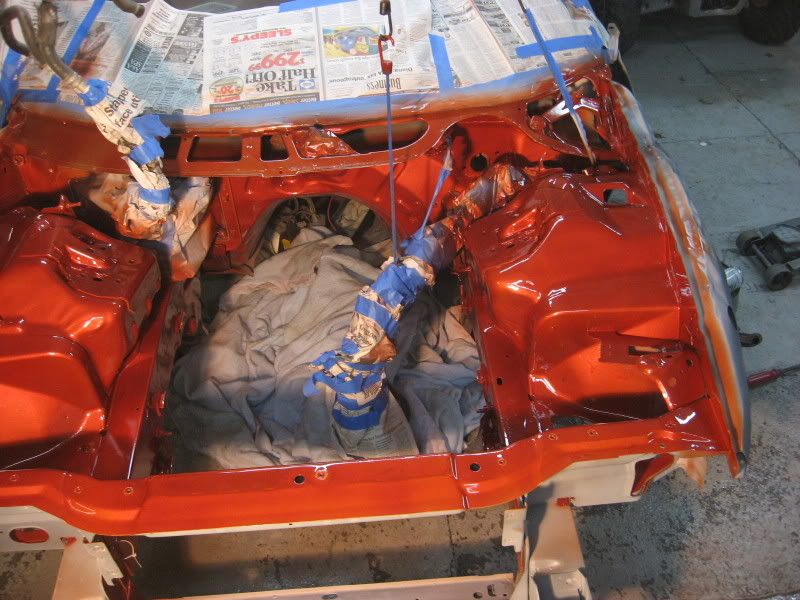
Finally some color
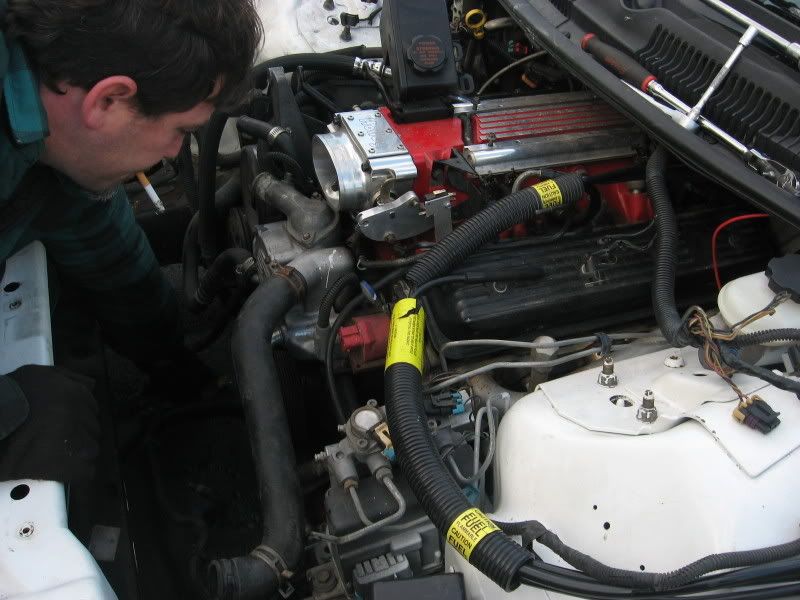
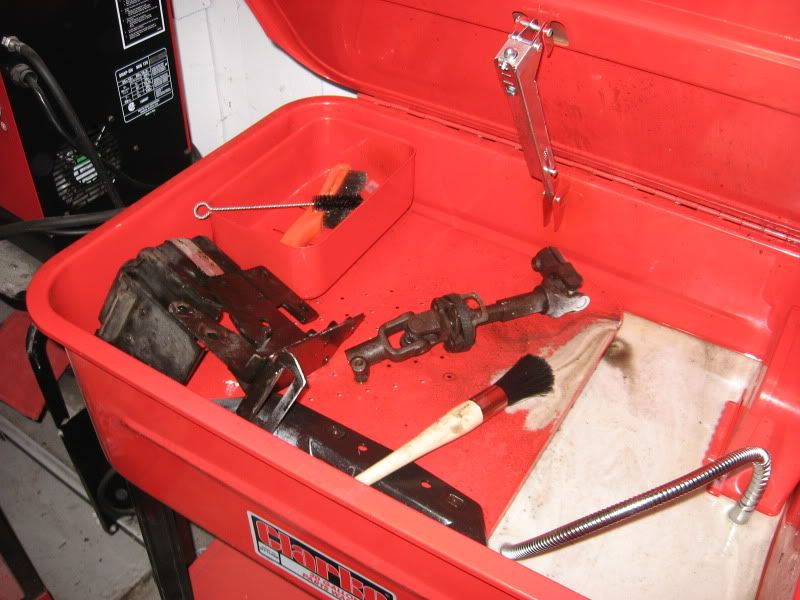
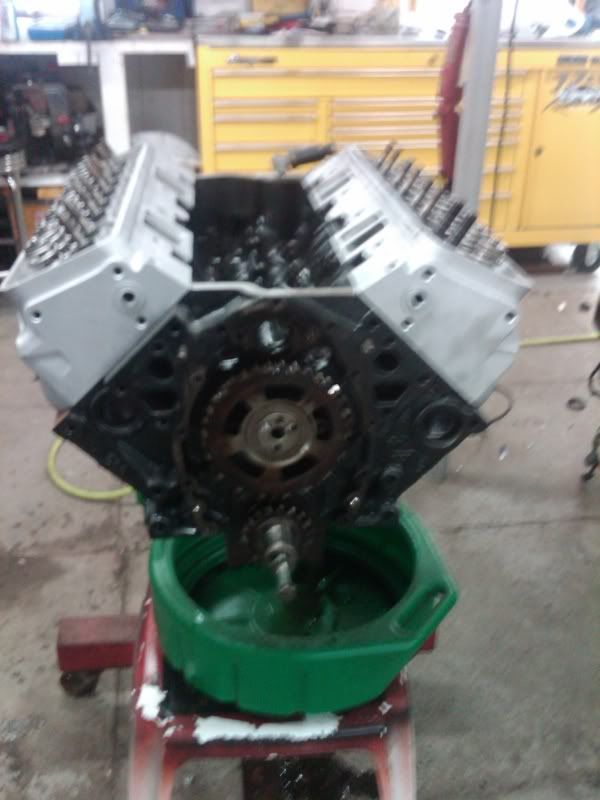
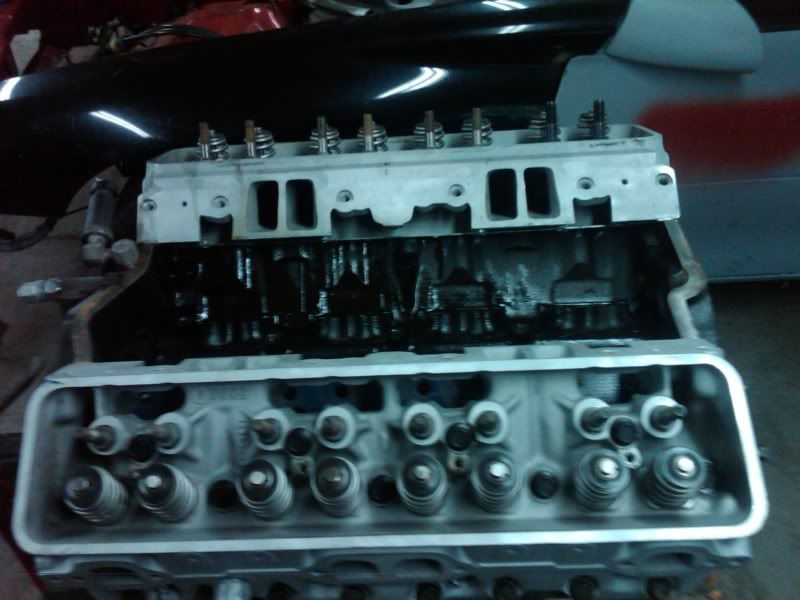
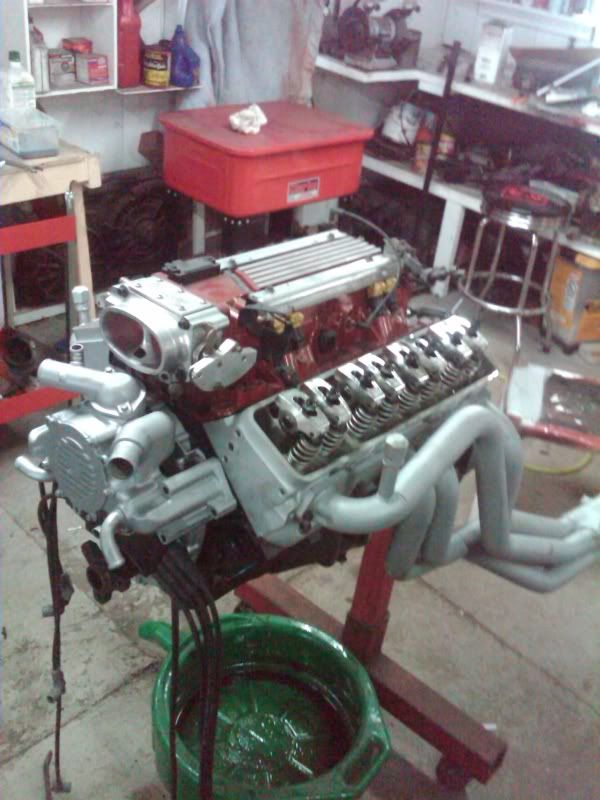
I have made some more progress, the engine is apart and crank and heads are down in Ocala Florida getting redone... Thanks Mr. 213
I will update as time allows me too…
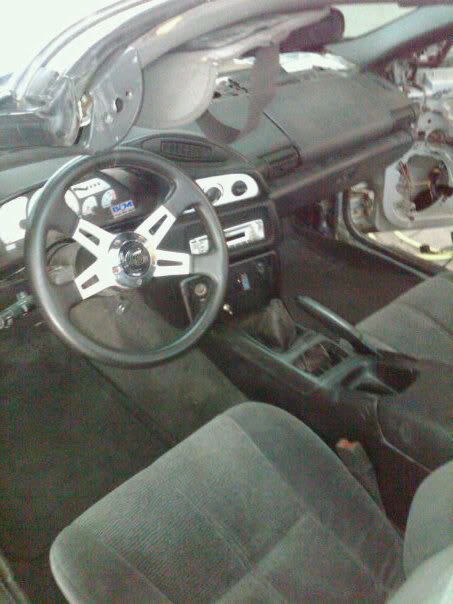
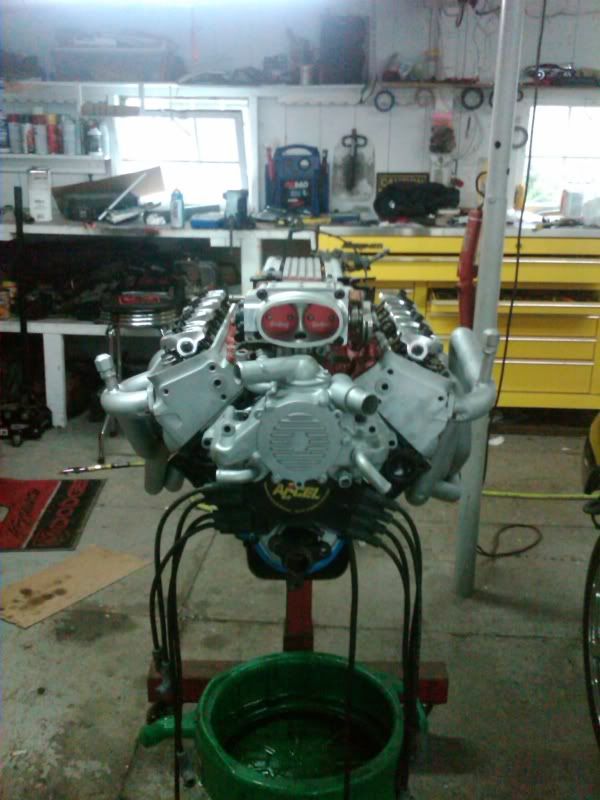
I put the interior back together and started working on the engine.
Should be stabbing that back in next weekend.
Anyway pics are worth 1000 words so...
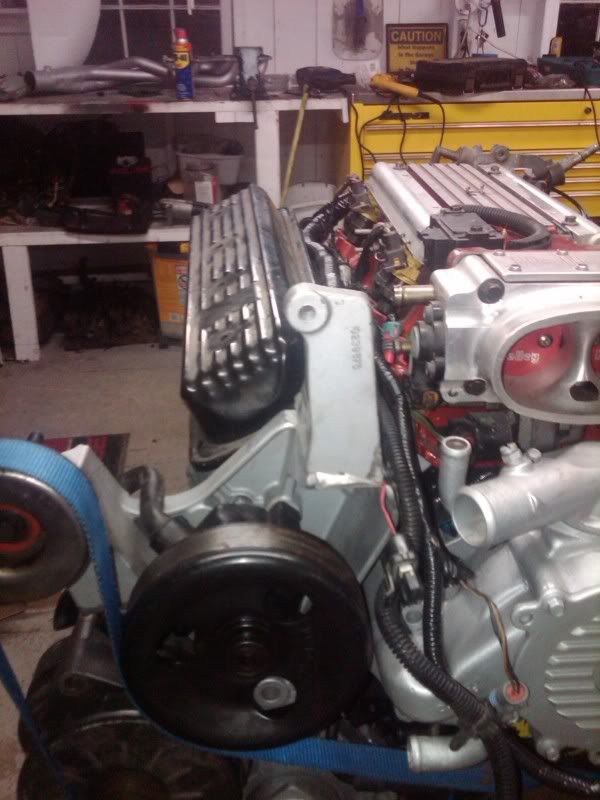
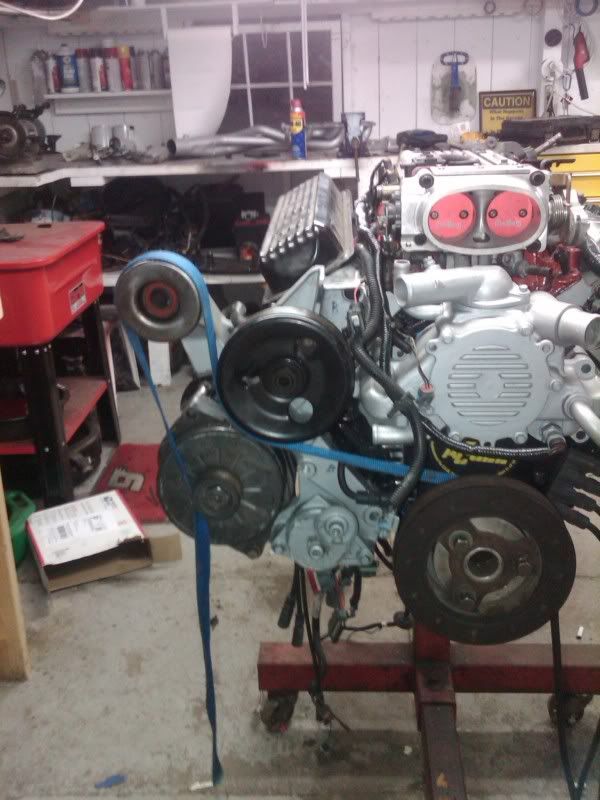
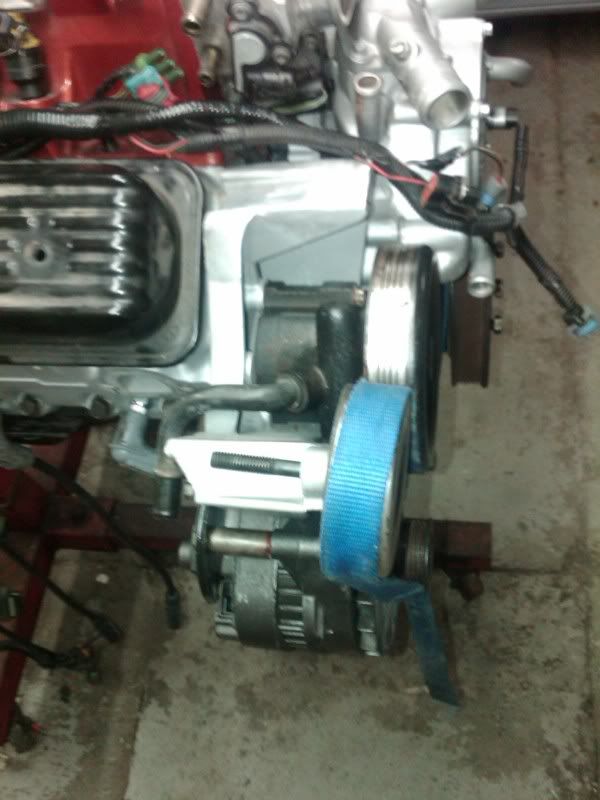
Ill let the pics do the talking but I basically did the same as above but did a different setup for the Alt bracing. All in all it was worth the 3-4 hours of work to get it right...
It changes the look of my engine by leaps and bounds!!!
Anyway here are the pics:
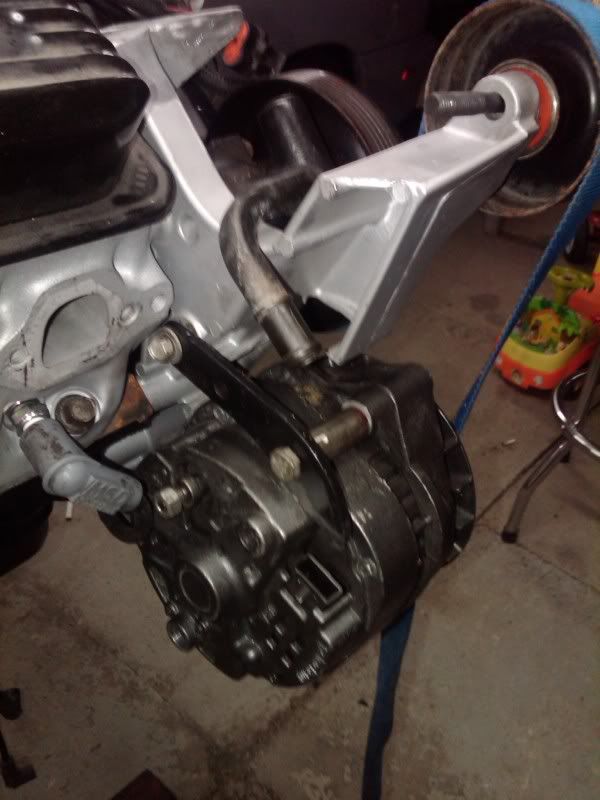
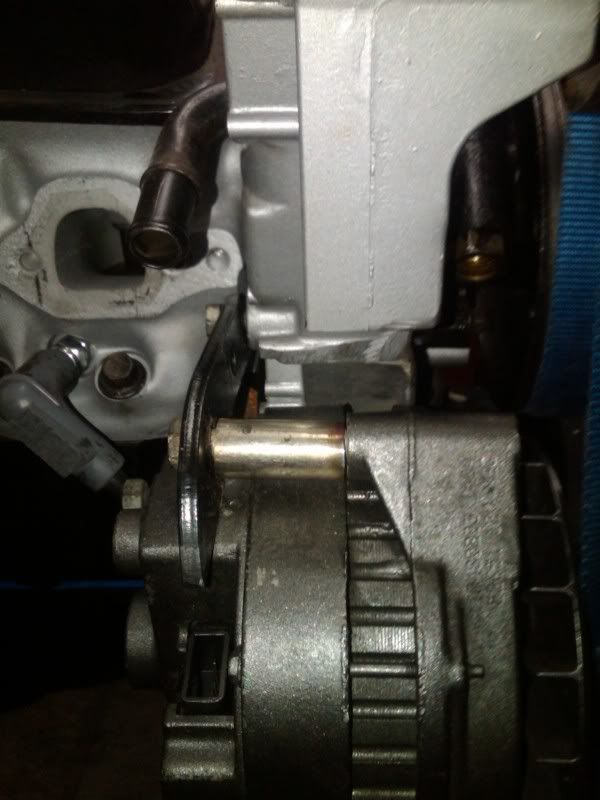
This is where the original Bracket goes Alt sits up almost above the engine itself
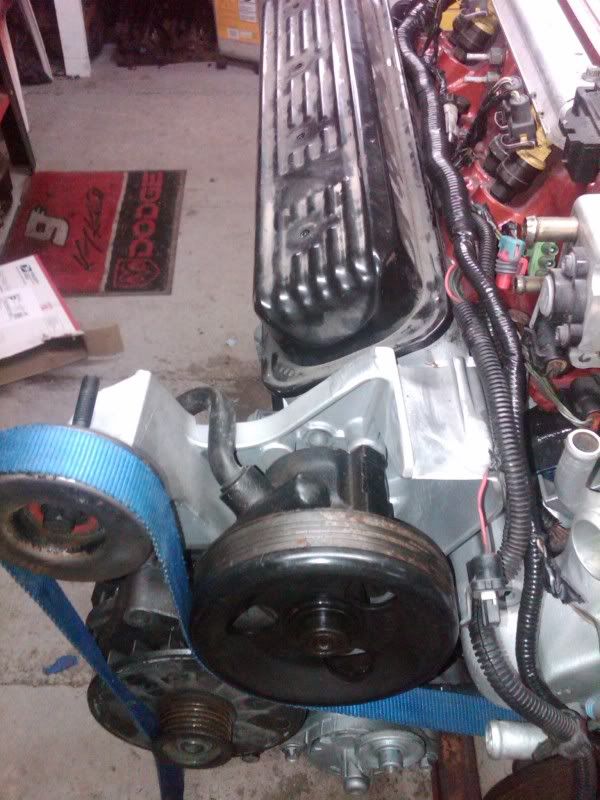
here it is cut off and just about smoothed out...
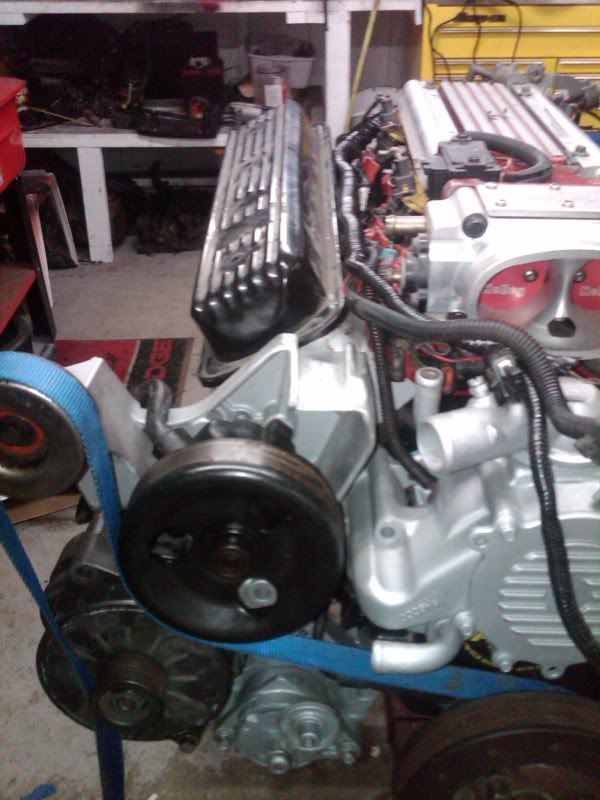
MUCH BETTER
I made this bracket (came from an old mower deck) and cut an old socket in half; It's solid as a rock!
pull the dash, pull the box, cut in half, reassemble! some companies make hvac delete plates if you don't wanna make your own. you will just have to make openings for the heater lines and vac supply line.
pull the dash, pull the box, cut in half, reassemble! some companies make hvac delete plates if you don't wanna make your own. you will just have to make openings for the heater lines and vac supply line.
You make it seem so easy!
Its a lot of work and if you are uncomfortable pulling the dash apart it may not be worth it.
Buttttt.. it does clean up a lot!
__________________
Quote:
Originally Posted by KirkEvil
repo bigals turd gen and part it out to a loving home