|
|
 05-14-2012, 08:06 PM
|
#26
|
Join Date: Jul 2011
Location: Sparta
Posts: 145
|
i think i can fit a c4 setup on mine. im going to do some measurments
|

|

|
|
05-14-2012, 10:05 PM
|
#27
|
Join Date: Apr 2009
Location: Andover, NJ
Posts: 777
|
Quote:
Originally Posted by camarocrazy42

i think i can fit a c4 setup on mine. im going to do some measurments
|
I would offer to pull a spindle with the brake and rotor on it and you can see if the LS1s would fit. Unless you mean the ZR1 brakes. If the LS1s fit the C4s will fit. Standard C4s caliper is smaller than the LS1 caliper I believe. I also have a set of brackets for standard C4 brakes, though they may work on the ZR1 brakes as well.
Quote:
Originally Posted by 1320B4U
I needed extended studs, spacers and a little more to run the 17x9 ronals on my bird in the front...nasa tolerances.
|
What brakes do you have on the tribute car?
Last edited by L695speed; 05-14-2012 at 10:06 PM.
|
|
|
|
|
05-15-2012, 05:16 AM
|
#28
|
Join Date: Jul 2011
Location: Sparta
Posts: 145
|
Quote:
Originally Posted by wretched73
Instead of filling the emblems in with body filler on your GFX, you can get an old bumper or GFX, cut it up, and melt it, than pour it into the hole
|
Sounds like too much work. im just going to do fiberglass filler
|
|
|
|
|
05-15-2012, 01:05 PM
|
#29
|
Join Date: Oct 2009
Location: West Milford
Posts: 1,026
|
Stock brakes on the hawk....the issue is w/the tie rod clearance.
|
|
|
|
|
05-15-2012, 02:40 PM
|
#30
|
Join Date: Nov 2007
Location: Jackson, NJ
Posts: 1,718
|
Quote:
Originally Posted by camarocrazy42
Sounds like too much work. im just going to do fiberglass filler
|
Its really just as simple, but it was just an idea for you
__________________
1983 camaro- Scrap
1988 camaro- Also scrap
'05 Silverado- You guessed it, scrap
1988 TRX 250R- Ported w/ high compression on 110 octane- Out 60' your LT1
Jersey Shore Street Car Takeover (JSSCT) Founder
Quote:
Originally Posted by LS1ow
and once i get PHB, what do i ajust it too?
|
Quote:
Originally Posted by Jersey Mike
Seven.
|
|
|
|
|
|
05-15-2012, 02:55 PM
|
#31
|
Join Date: Jul 2011
Location: Sparta
Posts: 145
|
Quote:
Originally Posted by L695speed
I would offer to pull a spindle with the brake and rotor on it and you can see if the LS1s would fit. Unless you mean the ZR1 brakes. If the LS1s fit the C4s will fit. Standard C4s caliper is smaller than the LS1 caliper I believe. I also have a set of brackets for standard C4 brakes, though they may work on the ZR1 brakes as well.
|
that would be great, could u?
|
|
|
|
|
05-15-2012, 04:43 PM
|
#32
|
Join Date: Apr 2009
Location: Andover, NJ
Posts: 777
|
Quote:
Originally Posted by camarocrazy42
that would be great, could u?
|
Yeah, just need to undo the strut and ball joint/tie rod nuts. Car would be on the jackstands for a couple hours but its no big deal as nothing is torqued. You can also see what kind of mods you would have to do in person too. Just let me know when a good time would be for you and I'll head over to your place and we can see if it will fit. I am almost certain the C4 caliper is smaller than the LS one. You can send me a PM about when you want to meet. I'm running papers at night so I'm usually home during the day. I can show you the brackets for the C4 calipers too.
Last edited by L695speed; 05-15-2012 at 04:43 PM.
|
|
|
|
|
05-15-2012, 08:08 PM
|
#33
|
Join Date: Jul 2011
Location: Sparta
Posts: 145
|
first can u explain to me all the benifits of the corvette brakes from factory
|
|
|
|
|
05-16-2012, 04:30 PM
|
#34
|
Join Date: Apr 2009
Location: Andover, NJ
Posts: 777
|
Quote:
Originally Posted by camarocrazy42
first can u explain to me all the benifits of the corvette brakes from factory
|
Typically we swap the brakes for more braking torque. Someone gave me the exact detailed explanation. I swapped for LS1 F body fronts. The result is 25% more braking torque than the stock ones. Also they're more stable under braking, and cool better as well. I did it because I'm intending to run more power and eventually track the car occasionally. Naturally one would want to stop better. What I did was a definite upgrade. People say the 1LE brakes are also better than stock, the C4 brakes are the more common but slightly different than the 1LEs, still basically the same. There are also people who run the stock iron brakes at the track and have no issues. Don't know how they pull it off but I bet they may be running DOT 5 fluid (or is it 4, i may be flipping one or the other) raising the braking fluid boiling point.
Here is the detailed explanation with all the math BS.
"The braking torque or "power" as you call is the (braking force) * (radius from center of the spindle to roughly the center of the pad). Braking force is determined by the hydraulic advantage in the system. Force = (piston area) * (fluid pressure). Fluid pressure remains the same when swapping brakes, so really only the piston area matters.
Stock
piston area: 4.43 sq in
effective radius: ~9.5"
Torque = P * 4.43 * 9.5 = 42.1 * P (P is brake fluid pressure)
LS1
piston area: 4.81 sq in
effective radius: ~11"
Torque = P * 4.81 * 11 = 52.9 * P
So the LS1 setup has about 25% more braking torque than stock at the cost of ~9% longer pedal travel to generate the same fluid pressure. Not a bad trade off for a setup that has to fit in a 16" wheel." TGO member.
|
|
|
|
|
05-16-2012, 04:33 PM
|
#35
|
|
Ayatollah of Rock N Rolla / Admin
Join Date: Mar 2006
Location: Parts Unknown
Posts: 12,573
|
Quote:
Originally Posted by L695speed
Typically we swap the brakes for more braking torque. Someone gave me the exact detailed explanation. I swapped for LS1 F body fronts. The result is 25% more braking torque than the stock ones. Also they're more stable under braking, and cool better as well. I did it because I'm intending to run more power and eventually track the car occasionally. Naturally one would want to stop better. What I did was a definite upgrade. People say the 1LE brakes are also better than stock, the C4 brakes are the more common but slightly different than the 1LEs, still basically the same. There are also people who run the stock iron brakes at the track and have no issues. Don't know how they pull it off but I bet they may be running DOT 5 fluid (or is it 4, i may be flipping one or the other) raising the braking fluid boiling point.
Here is the detailed explanation with all the math BS.
"The braking torque or "power" as you call is the (braking force) * (radius from center of the spindle to roughly the center of the pad). Braking force is determined by the hydraulic advantage in the system. Force = (piston area) * (fluid pressure). Fluid pressure remains the same when swapping brakes, so really only the piston area matters.
Stock
piston area: 4.43 sq in
effective radius: ~9.5"
Torque = P * 4.43 * 9.5 = 42.1 * P (P is brake fluid pressure)
LS1
piston area: 4.81 sq in
effective radius: ~11"
Torque = P * 4.81 * 11 = 52.9 * P
So the LS1 setup has about 25% more braking torque than stock at the cost of ~9% longer pedal travel to generate the same fluid pressure. Not a bad trade off for a setup that has to fit in a 16" wheel." TGO member.
|
Just curious, the effective radius of what in the braking system is 11"?
|
|
|
|
|
05-16-2012, 04:55 PM
|
#36
|
Join Date: Apr 2009
Location: Andover, NJ
Posts: 777
|
Quote:
Originally Posted by WildBillyT
Just curious, the effective radius of what in the braking system is 11"?
|
I was given that explanation by someone over at TGO. The effective radius I believe is the actual pad clamping surface on the rotor. At least thats what I read it as. I can ask him if anyone wants further explanation.
|
|
|
|
|
05-19-2012, 07:45 PM
|
#37
|
Join Date: Jul 2011
Location: Sparta
Posts: 145
|
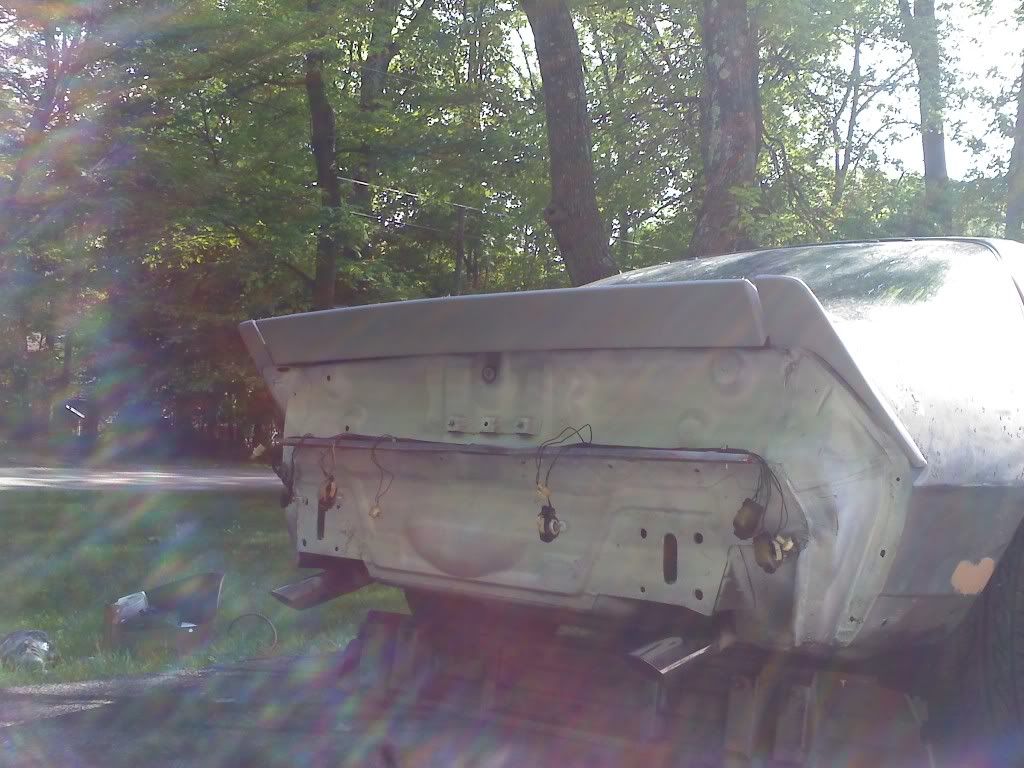
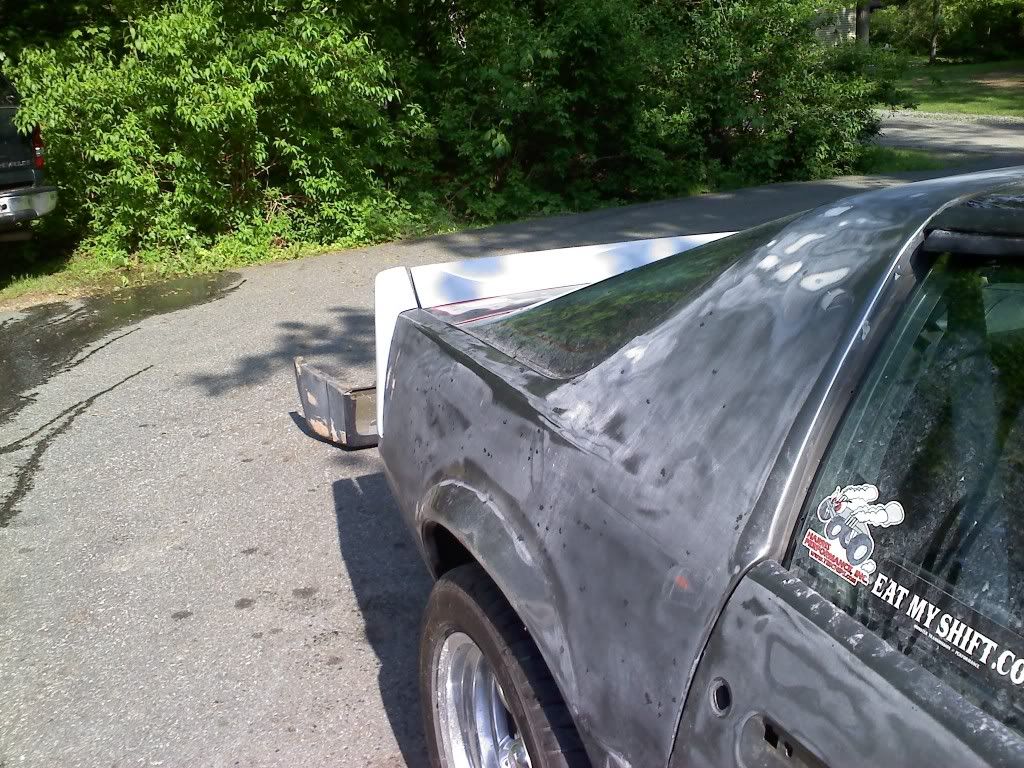
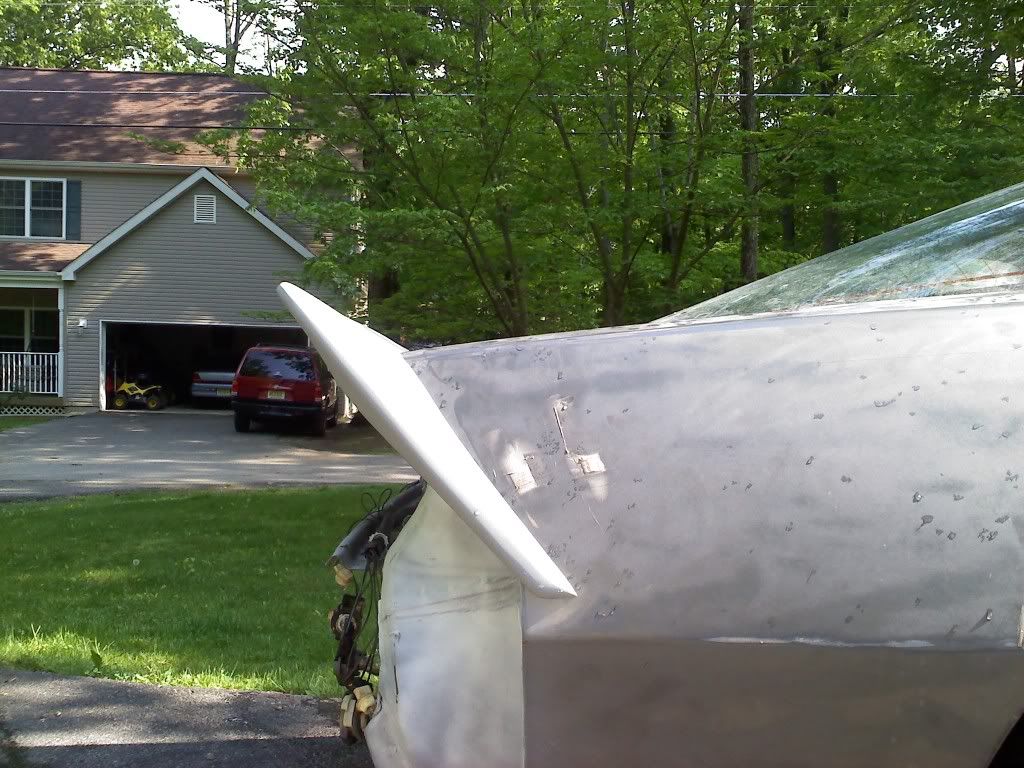
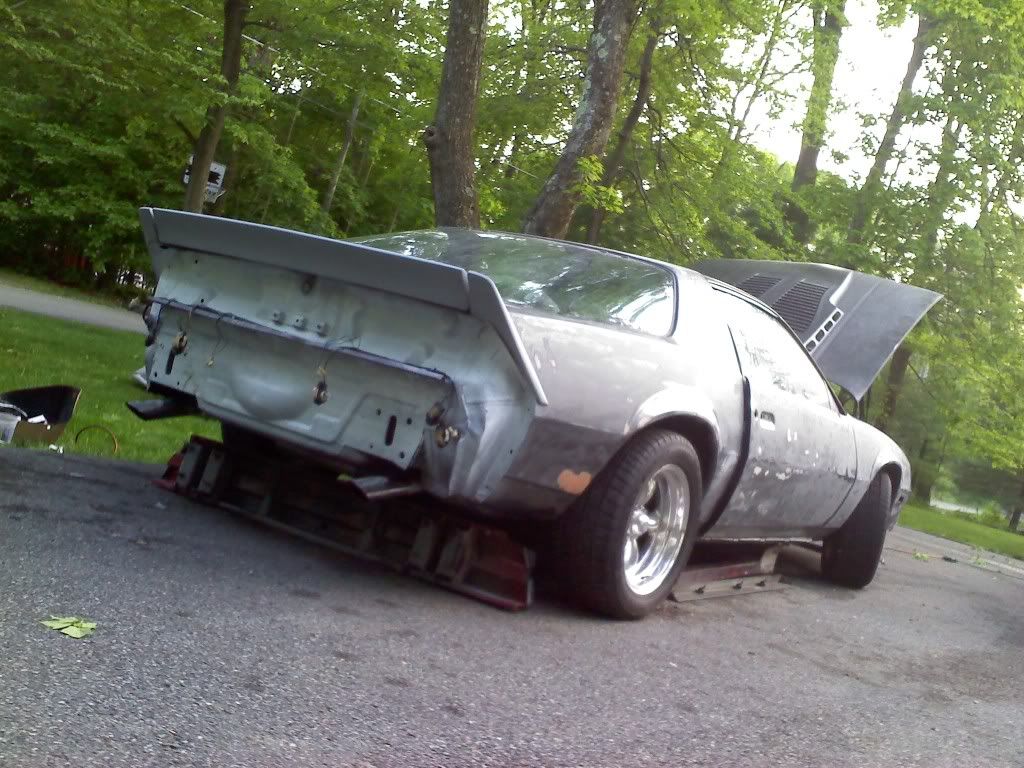
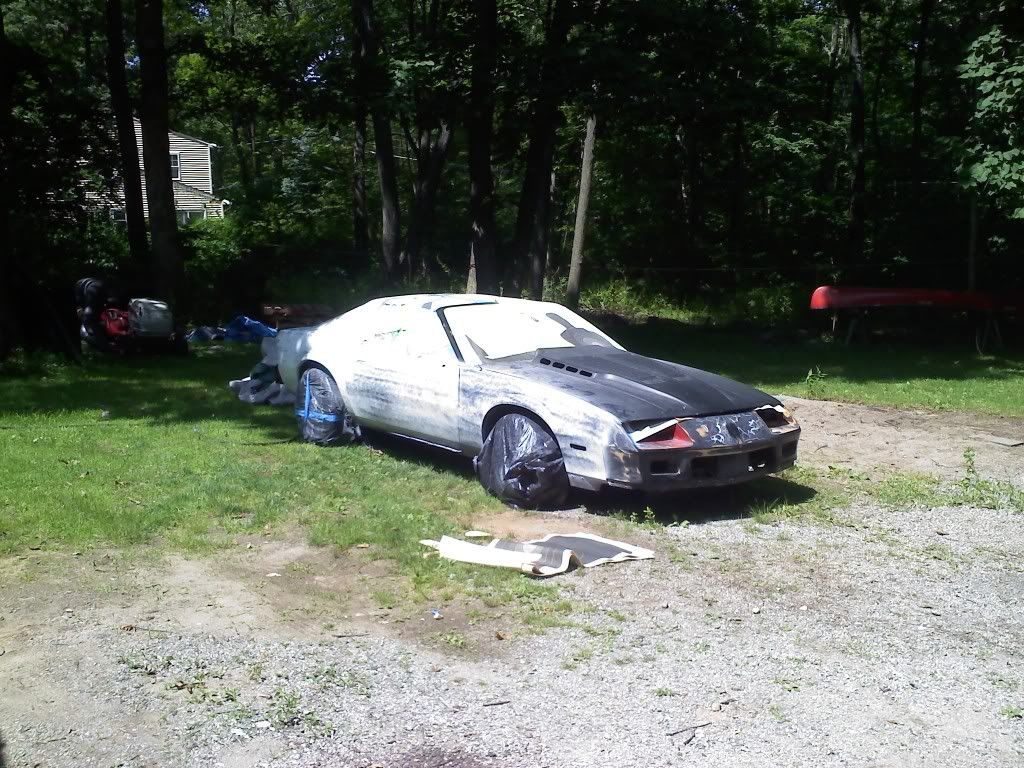
got my hawks 5 inch spoiler fitted.
|
|
|
|
|
05-25-2012, 11:29 AM
|
#38
|
Join Date: Jul 2011
Location: Sparta
Posts: 145
|
|
|
|
|
|
05-25-2012, 11:31 AM
|
#39
|
Join Date: Jul 2011
Location: Sparta
Posts: 145
|
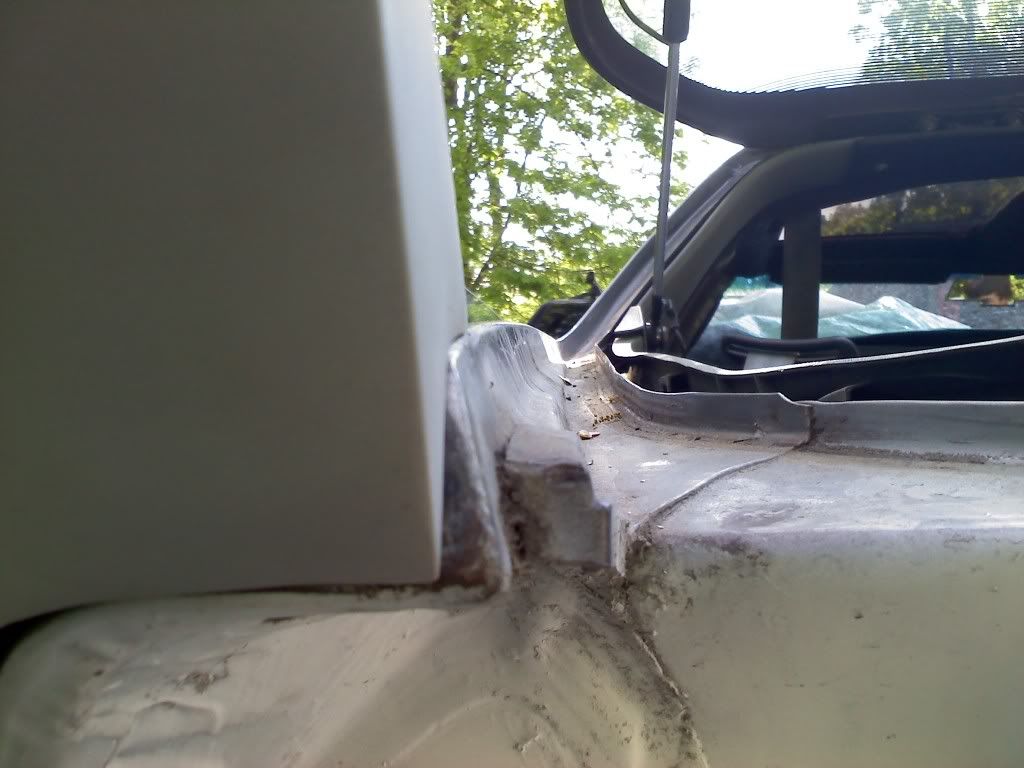
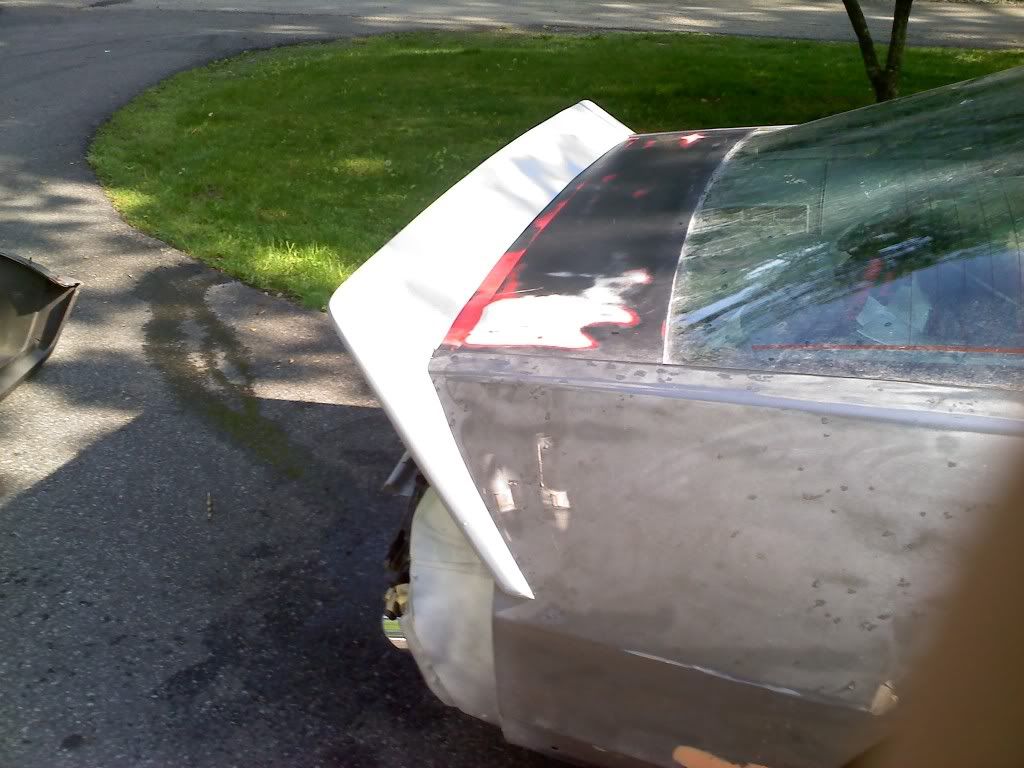
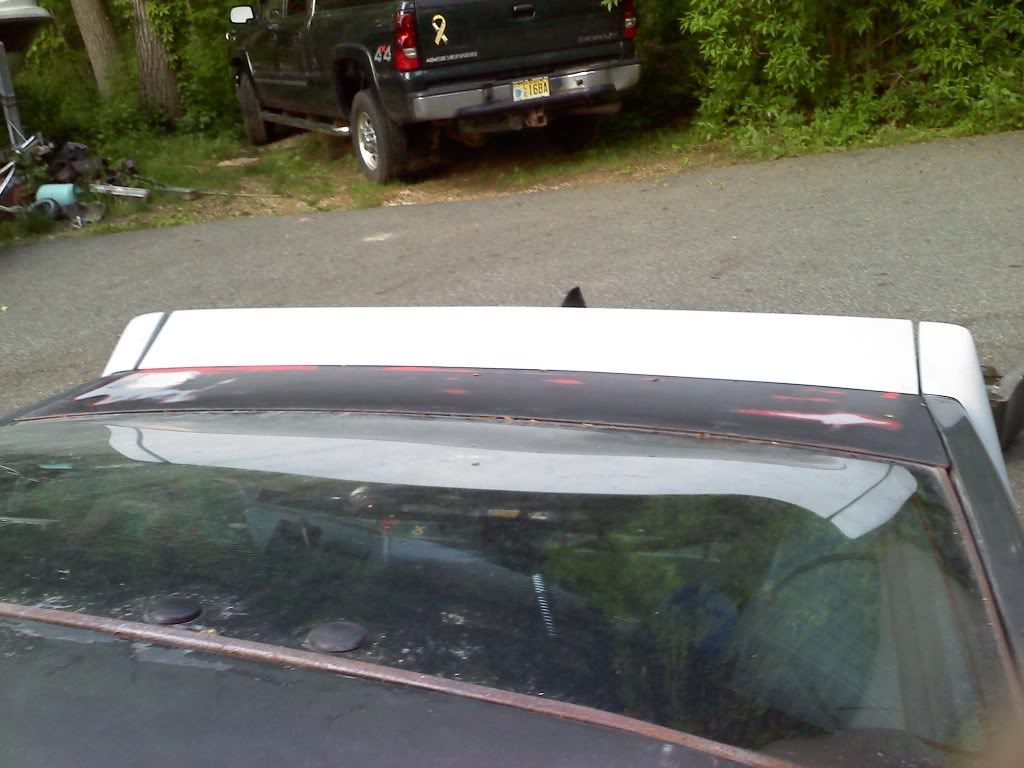
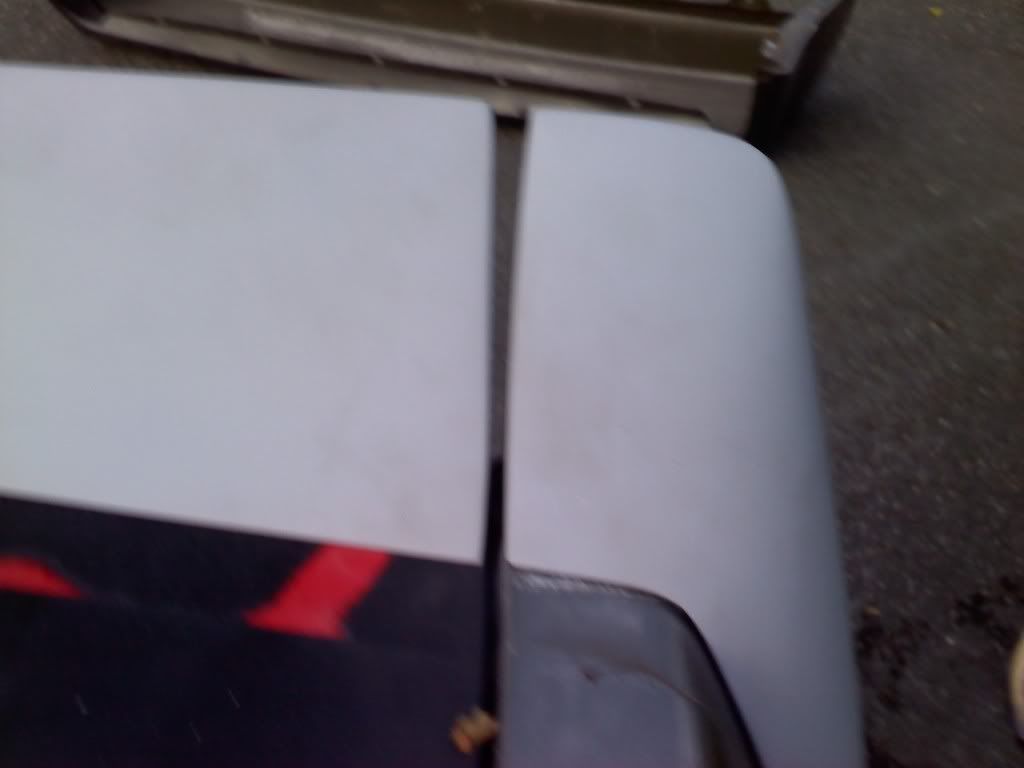
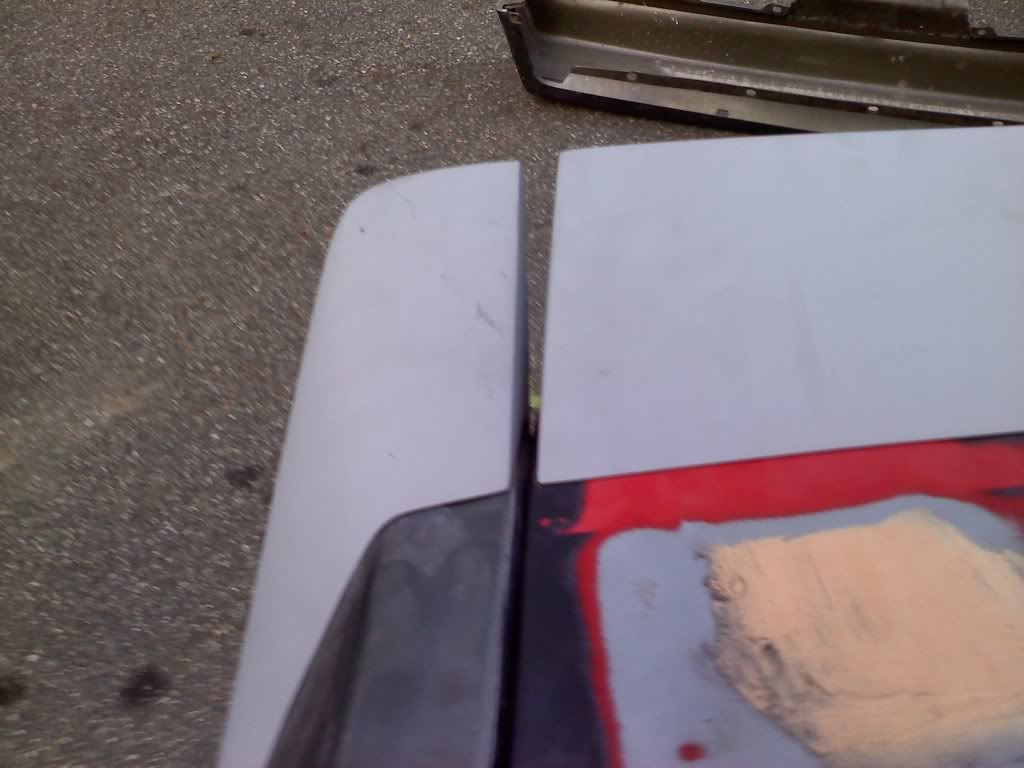
recently adjusted my hatch to even out the gaps, and get the tops of the side pieces to match the center piece.
|
|
|
|
|
05-25-2012, 02:12 PM
|
#40
|
Join Date: Apr 2009
Location: Andover, NJ
Posts: 777
|
Quote:
Originally Posted by camarocrazy42
recently adjusted my hatch to even out the gaps, and get the tops of the side pieces to match the center piece.
|
I've heard of fit and gap issues with that spoiler. You may need to do some work with resin, fiberglass or filler to get the gap closer. Some shots look great though.
|
|
|
|
|
05-25-2012, 10:32 PM
|
#41
|
Join Date: Jul 2011
Location: Sparta
Posts: 145
|
thanks. yea after i adjusted the hatch it evened out pretty good. ill take more pics later
|
|
|
|
|
06-15-2012, 10:06 PM
|
#42
|
Join Date: Jul 2011
Location: Sparta
Posts: 145
|
ok so far i have the passenger side primed and ready. now i hav to prime and sand the drivers side. so far i hav the ds rear quarter ready, and still need to sand the door once more, and do the fender. then is the bumpers, and gfx. here is so far.
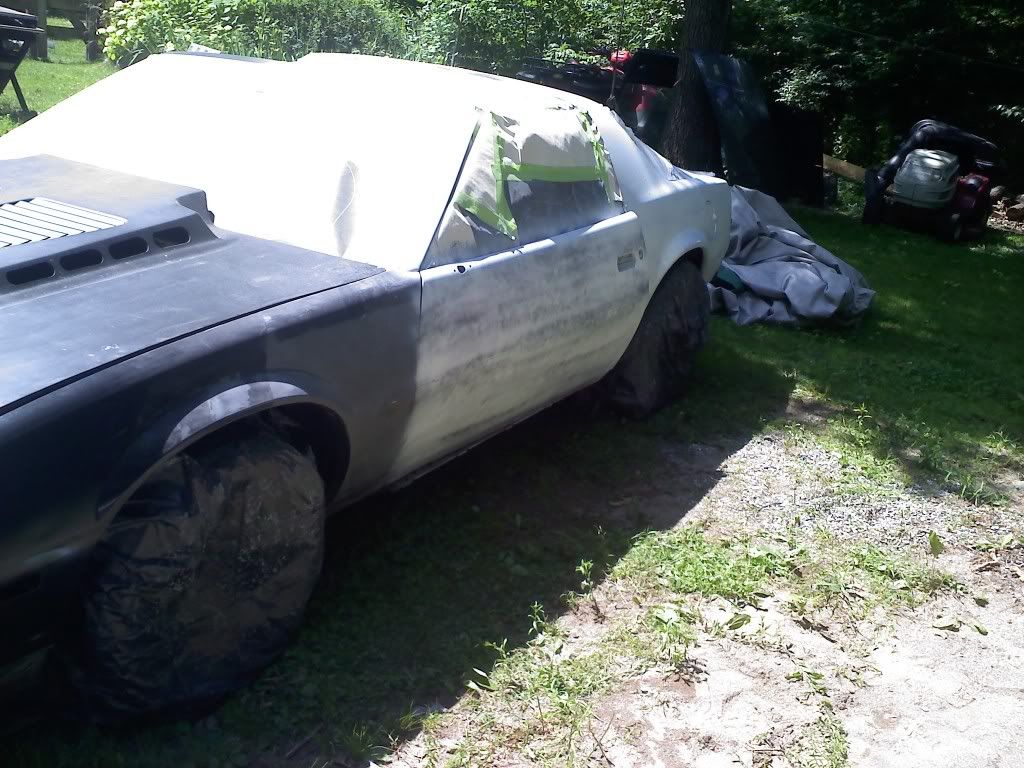
fyi the black on it is black primer that was a light coat so when i sand it i can see where the low spots are, and as well as scratches and dents. its not the actual original paint or bear metal.
|
|
|
|
|
06-16-2012, 10:04 PM
|
#43
|
Join Date: May 2012
Location: NJ
Posts: 143
|
 love seeing people do work themselves instead of opening a wallet. Respect
Last edited by NHRABill; 06-16-2012 at 10:05 PM.
|
|
|
|
|
06-17-2012, 02:26 PM
|
#44
|
Join Date: Jul 2011
Location: Sparta
Posts: 145
|
thanks man. yea theres no fun in payin people to do it, plus i wouldnt be as attatched to this car if i payed someone to do it.
|
|
|
|
|
06-17-2012, 07:45 PM
|
#45
|
Join Date: Dec 2010
Location: Hillsborough
Posts: 956
|
Nice man, I also have to give a lot of respect. I love the targets covering the windshield.
__________________

"Quality means doing it right when no one is looking."
- Henry F*rd
|
|
|
|
|
06-18-2012, 07:03 PM
|
#46
|
Join Date: Jul 2011
Location: Sparta
Posts: 145
|
haha yea it works i guess. actually just replaced the windshield that day.
|
|
|
|
|
06-21-2012, 08:57 PM
|
#47
|
Join Date: Apr 2009
Location: Andover, NJ
Posts: 777
|
Quote:
Originally Posted by camarocrazy42
haha yea it works i guess. actually just replaced the windshield that day.
|
Wonder why it was replaced...used for target practice? From the usage of targets on the windshield I'd guess so LOL. Nice progress man. Keep it up.
|
|
|
|
|
06-23-2012, 06:23 PM
|
#48
|
Join Date: Jul 2011
Location: Sparta
Posts: 145
|
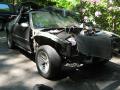
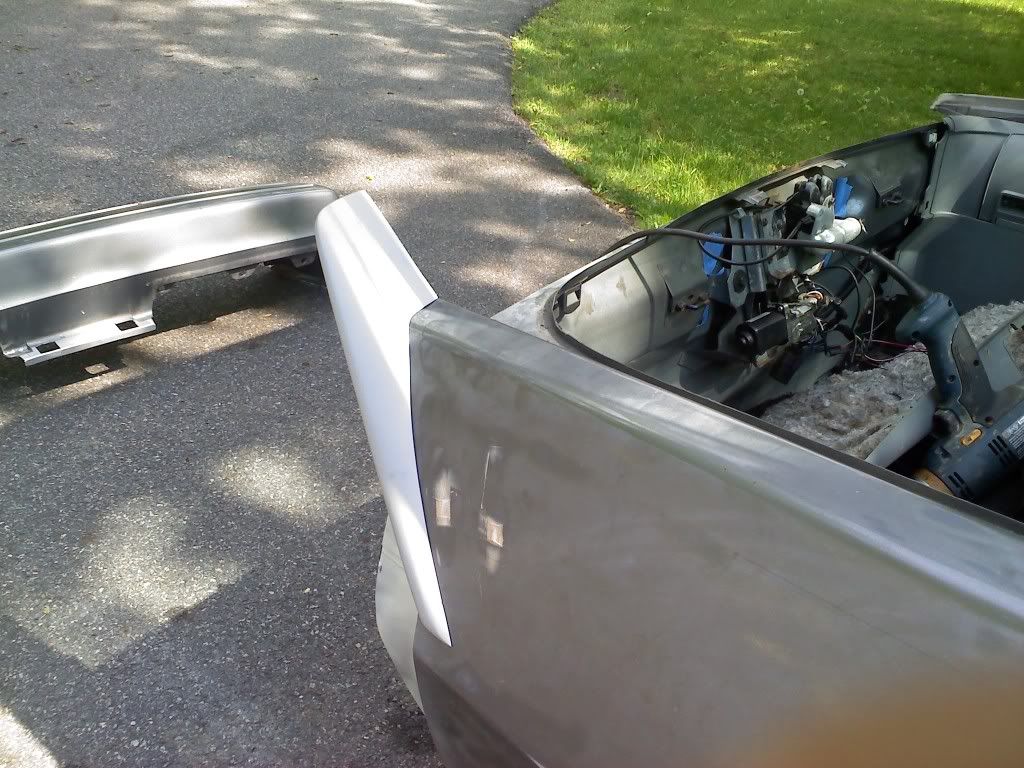
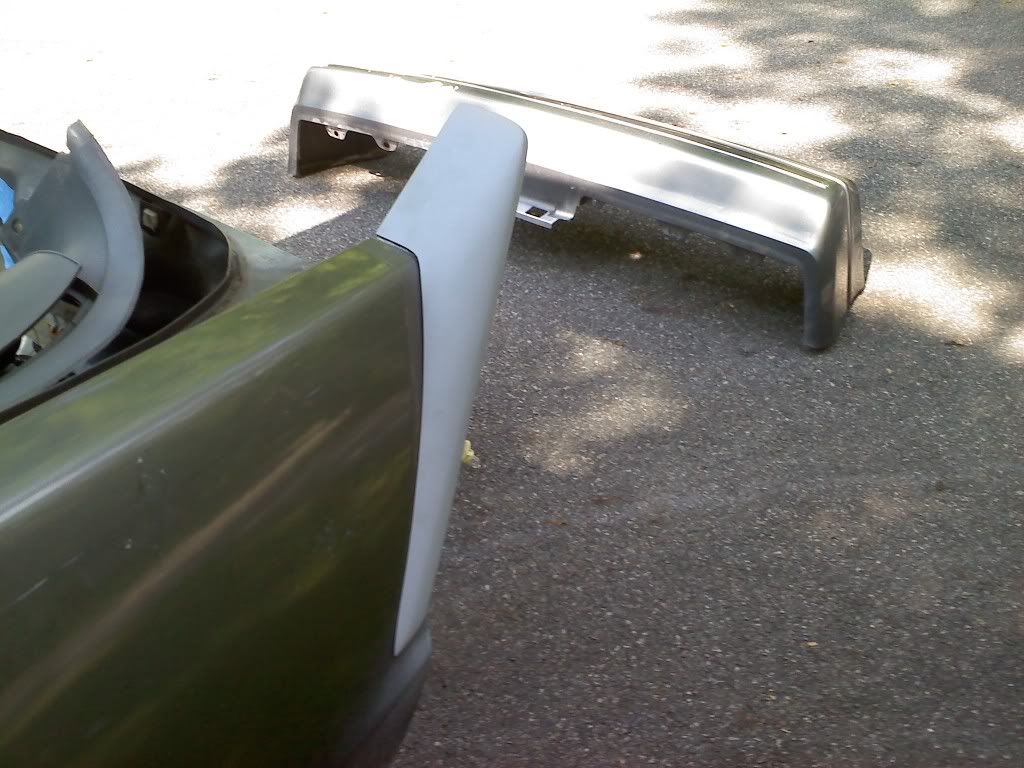
got my new bumper
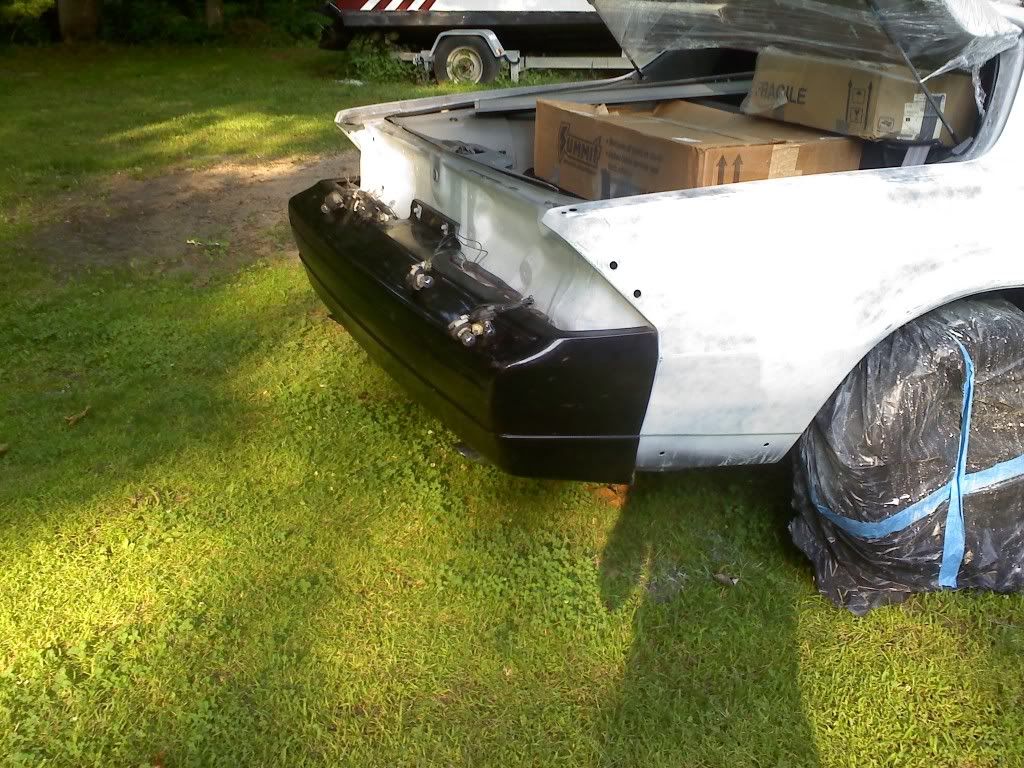
also restored my headlight stuff.
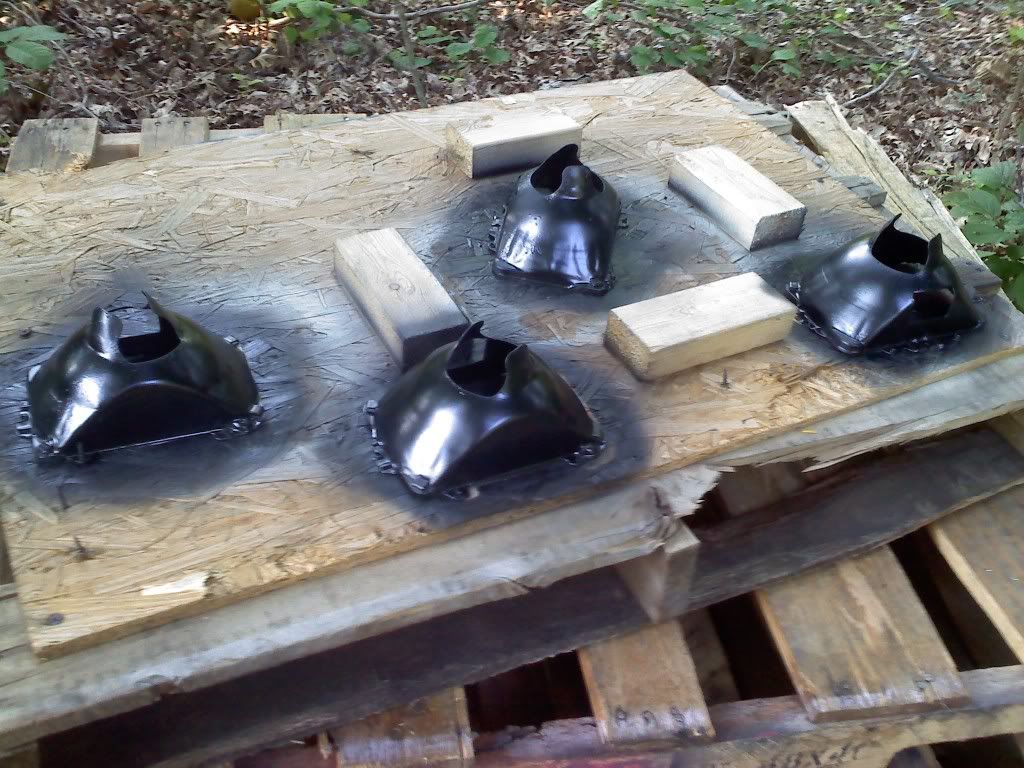
and also restored the headlight frames.

i painted them satin
Last edited by camarocrazy42; 06-23-2012 at 06:24 PM.
|
|
|
|
|
06-24-2012, 12:34 AM
|
#49
|
Join Date: May 2012
Location: NJ
Posts: 143
|
|
|
|
|
|
06-24-2012, 10:10 AM
|
#50
|
Join Date: Jul 2011
Location: Sparta
Posts: 145
|
yea. im takin my time to do it right
|
|
|
|
 Posting Rules
|
You may not post new threads
You may not post replies
You may not post attachments
You may not edit your posts
HTML code is Off
|
|
|
|
|
|