NJFBOA.ORG Photobucket usage primer
NJFBOA.org October 25, 2011
Important notes to remember:
· Modern digital cameras and phones can shoot some very large images that may be too large for a computer screen.
· Deletion of an image from your Photobucket account will break every link to it that exists on the Internet
· The following is a write-up for Photobucket.com. General information is also applicable to Webshots, Kodak Gallery, and other photo hosting sites.
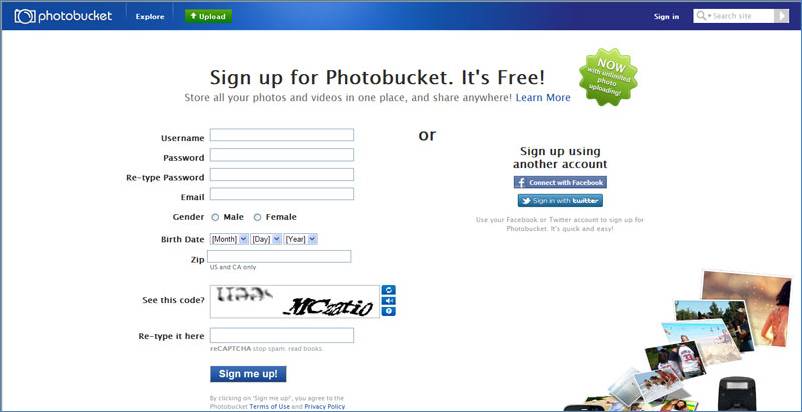
Step 1: Go to photobucket and fill out
the sign up form
An easy one. Go to http://www.photobucket.com and click the “Sign up” button in the upper right. Enter your desired user name, password, password confirmation email, gender, date of birth, zip code, and a correct representation of the “CAPTCHA” image that is used to make sure you are a person and not a web robot. Once it’s filled out click ‘sign me up’. Please note your password must be at least 6 characters long.
Step 2: You’re in. Now what?
At this point, your screen will look like this:
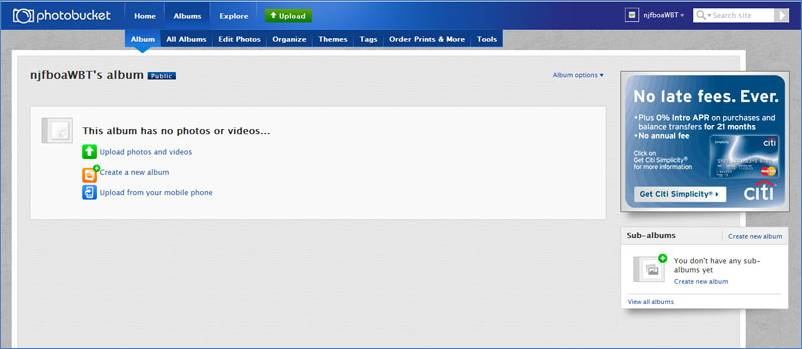
Before you start uploading pictures and other media, it is a good idea to stay organized and create sub-albums. After a while you can end up with a LOT of pictures in your main album, and if you do not take care to file them in the right places you are going to end up doing tons of clicking to find a single image in a sea of others. To create a sub-album, click ‘Create a new album’ in the center of the screen or click the ‘Create new album’ link in the lower right of the screen. A slideout window will appear, as below:
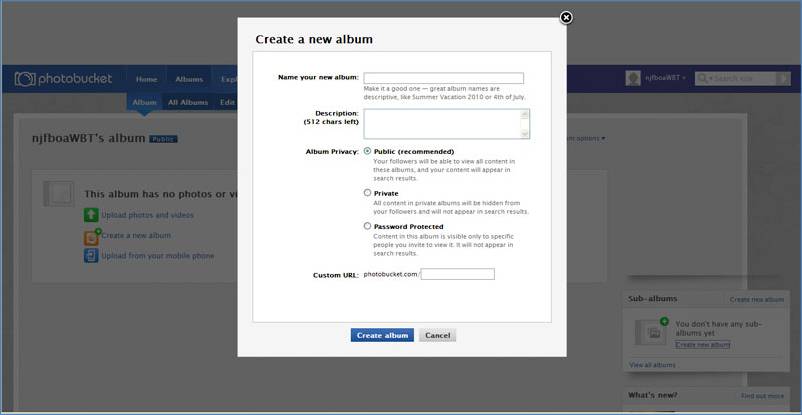
As before, you will just fill out the form here. Give it a name that’s useful and a description that tells you what’s in there. The privacy setting is up to you, however there are a few things you should know about the settings:
· Public is recommended by Photobucket. It allows anyone to access your album and browse around, and also allows search engines to catalog what you’ve got in there to show in Google Images, etc.
· Private is strictly that. Nobody can browse your albums except you, and it will not be cataloged by search engines. However, you can still post direct links to your images for others to see. It does not mean that nobody can see anything under any circumstance.
· Protected is an offshoot of private. Nobody can browse around, nothing is cataloged, but you can give people access with a password.
Personally, all of my albums are private. I don’t buy in to the “public is recommended” stuff. Keeping track of your online presence is a good idea, but that is a discussion for another time.
After you pick your privacy setting you can give your album a custom URL that allows you to access it directly via a link like this:
http://www.photobucket.com/MYALBUMNAME
where “MYALBUMNAME” is the custom URL you chose. Keep in mind that the pool of available names is shared by all of the photobucket users, so a name like “car” or “Camaro” will probably already be taken.
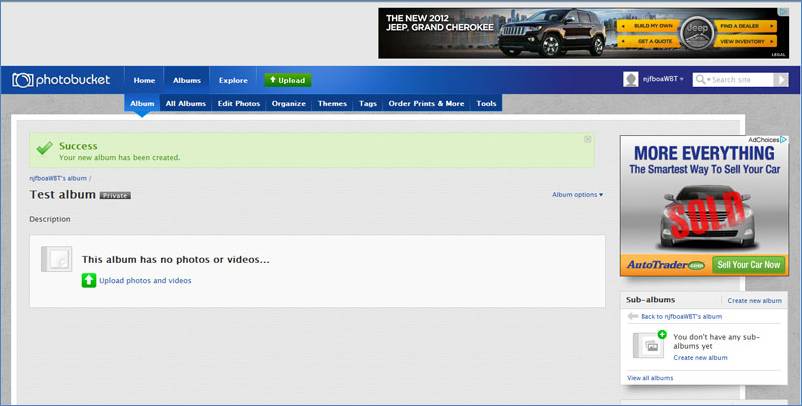
Once the form is complete, choose “Create album” and let it run. If you chose a custom url that’s already taken it will throw an error and make you choose another one.
Step 3: Uploading images
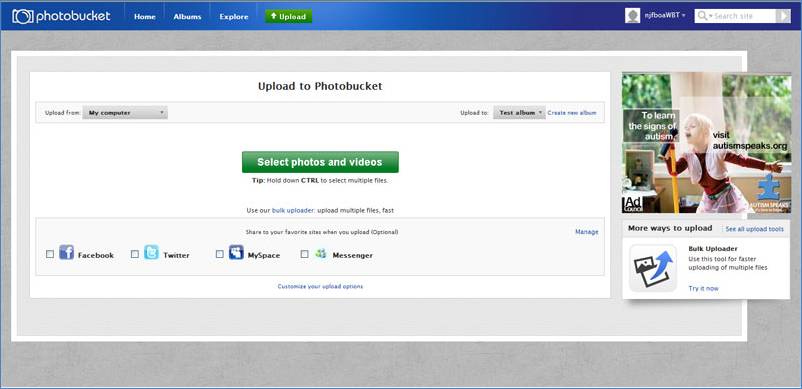
This is pretty easy. In your new album, click “Upload photos and videos” in the center:
And then “Select photos and videos” in the center of the next screen.
A pop up will appear in your operating system such as this one:
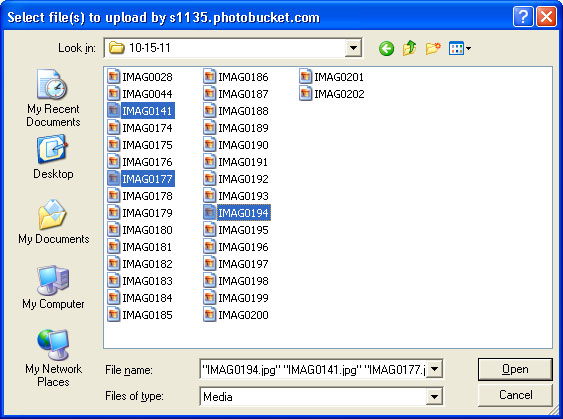
You will need to browse to the folder on your computer that contains the pictures and then select them. You can hold down the CTRL key and click on multiple pictures to upload multiple pictures at a time. Once you click “Open” your machine will begin to upload pictures, and you will see a screen like this:
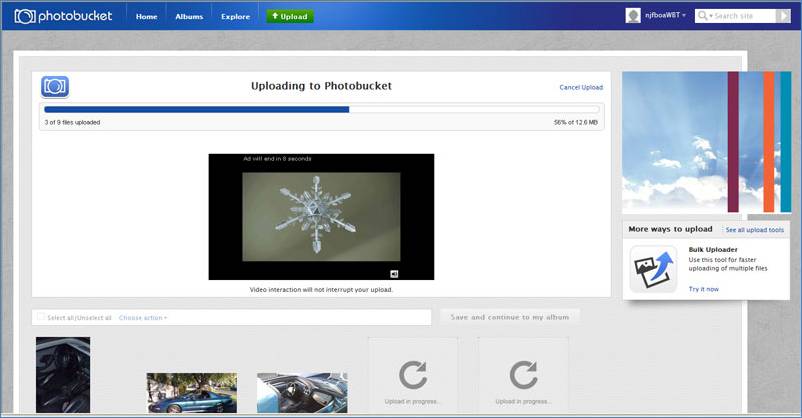
Note that during an upload, the pictures that are already done will show in the ribbon on the bottom of the screen.
When they are all complete you will be able to add titles, descriptions, and tags to your images:
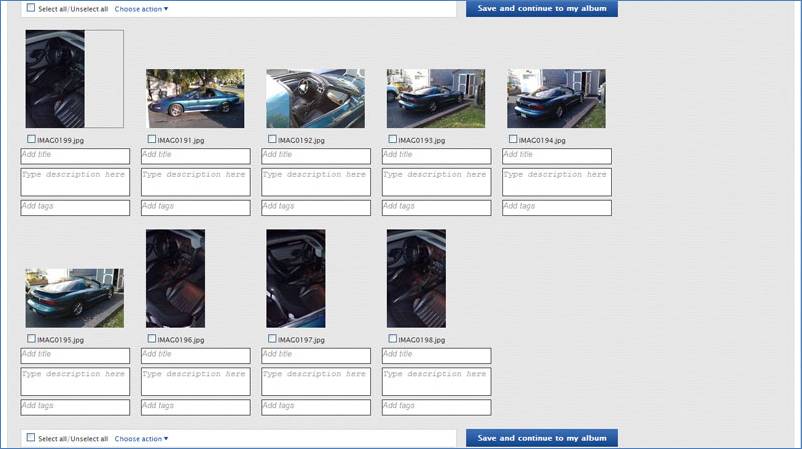
Add the titles and descriptions that you want and click “Save and continue to my album”. It may ask you to add a theme, you can choose to do that or not.
Step 5: Post processing and sharing
There are a few steps required in being a good citizen when posting your pictures. Some quick ones:
· Resize your image appropriately. At the time of this writing, 85% of web users are using resolutions (screen sizes) larger than 1024 pixels wide by 768 pixels high, however majority of those people are using resolutions less than 1440x900. So what does this jargon mean? Easy. It means even lower-end cameras and some phones can take images that are too big to fit on one screen. If you use a high end camera like an EOS 5D and you don’t resize your images, you can post a picture of your entire car that only shows a single lugnut on the screen.
o So what sizes are good?
§ I use 1024 pixels wide for an image embedded on a website or such that needs to fit in a browser window’s width
§ I use 800 pixels wide for images on a message board that need to show detail
§ I use 640 pixels wide for images on a message board that do not need to show detail
§ If I need to show a very large image, I will not post the actual image and will post a link to it instead. This way the user can use scroll bars to navigate around the picture without any other restrictions in the window and can switch between full screen and full size view.
§ Why so small on the message board stuff? This is due to user lists and sponsor links on the left and right hand sides of the screen that take up screen space. Your 1440 pixel wide screen may only have 900 pixels of width to actually show content after the HTML eats it up.
Resizing in photobucket is easy. The first step is to hover your mouse over the image and select “edit”, right under the picture itself:
From there you will be sent to the image editing screen. If you click the “resize” menu item you will get this screen:
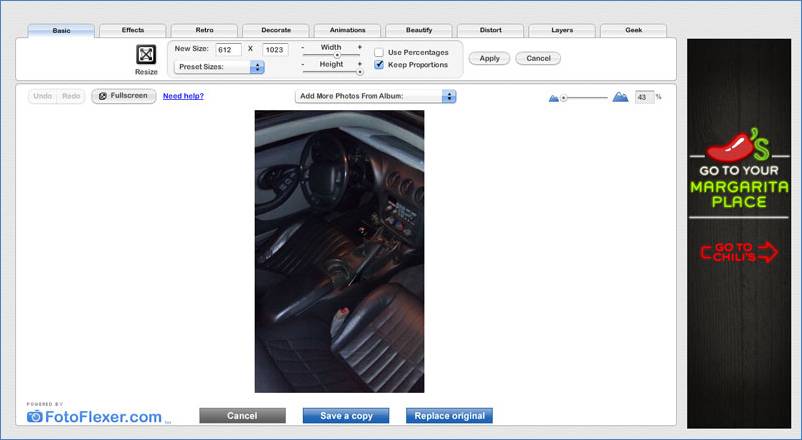
All you do
now is enter the new image size in the boxes at the top and click “apply”.
Leave “keep proportions” checked so your image does not get distorted. Also, if
you want to play around in here, this is the place where you go to make changes
to an image- like add effects, decorate it, add a border, etc. A good one is
under “distort”- the option “twirl”. If you change the size of the pointer using
the “size” slider, you can use this to distort your license plates and other
information you do not wish to make public. Once you are done, click “Save a
Copy” to create a new image off of the old one, or “Replace Original” to
overwrite what you already have.
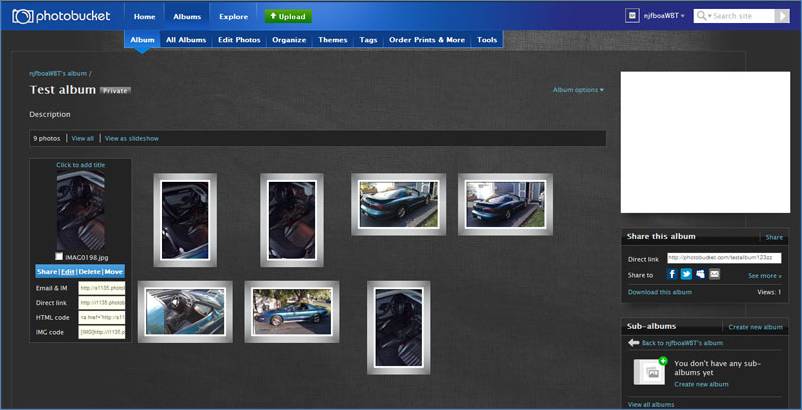
Once you click your option it is time to share the image. From any screen within your album that shows images, hover your mouse over the image you wish to share. Select the option “share” and you will get a pop-up. The first screen has information for Facebook, Myspace , and other social media. What we really want is on the “get link code” tab:
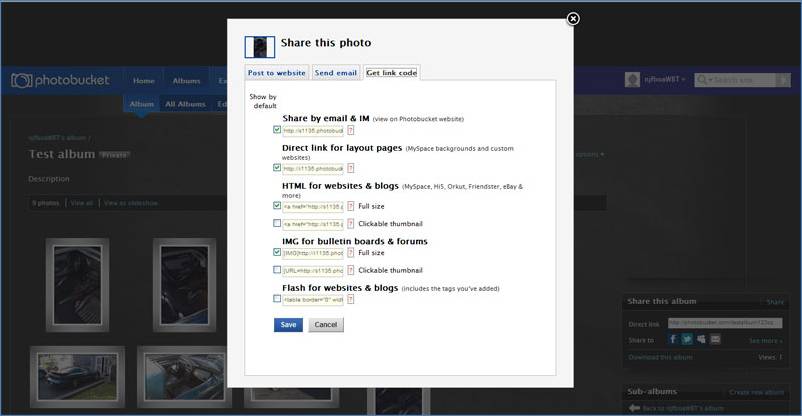
All you do at this point is copy the “http://...” text in a box to your clipboard (by highlighting it with your mouse, right clicking it, and choosing “copy”) , and paste it where you want the image to show up.
A shortcut to get this code is from your album home screen, where it shows thumbnails of all of your pictures. Just hover your mouse over the image (although sometimes it shows underneath the images without needing a hover anyway) and click on the box containing the code you want. It will copy the code to your clipboard. Then go to where you want it and paste it in.
For a message board, pasting it looks like this:
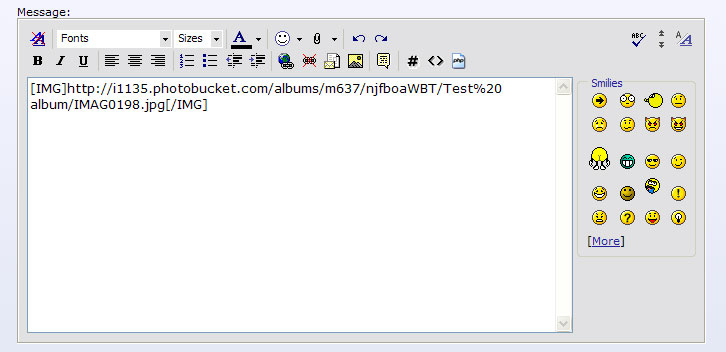
Clicking “submit reply” gives you your post:
And you are done!
Appendix A: Auto-Resizing
If you will be doing a lot of files at once it makes sense to make a slight change to the upload process to keep you from having to manually resize all of the images you are uploading. This is very simple.
From the upload screen (shown above), choose the link all the way at the bottom which says “customize your upload options”. You will get another pop-up:
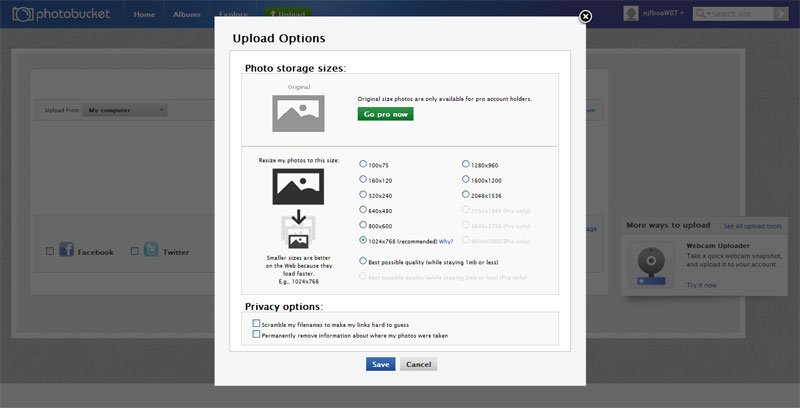
Here you can pick the size that you want all of your images to be resized to automatically, saving you the tedious task of going through them all one by one.